DIY Ouija Board: How to Make Your Own
Materials You’ll Need
Get the following things ready before you start:- Wood or cardboard. This will be the base of your Ouija board. While a wooden board looks more traditional and will last longer, cardboard is a good choice for a quick, easy, and cheap form.
- Sandpaper: You'll need sandpaper to make the surface and sides of the wood smooth.
- You can use paint or crayons to make the board look nicer and add letters, numbers, and symbols. Sticky pens are great for cardboard and acrylic paint is great for painting on wood.
- Ruler and pencil: To make lines and make sure your image is straight and in the middle.
- If you want to keep your design, especially if you painted on wood, you can use varnish or sealer.
- Planchette: This can be made from cardboard, wood, or even a clear plastic disc. It should be small and light so that it's easy to move across the board.
- Felt or cork (optional): To put on the bottom of the planchette to make it move easily.
Step 1: Get your board ready.
The first thing you need to do with a wooden board is sand it down until the surface is smooth. This will make your Ouija board look better and make it easy to paint or draw on. With a rougher grit of sandpaper, first get rid of any big flaws. Then, switch to a smaller grit for a smooth finish. Use a wet cloth to wipe the board clean after it is smooth.For cardboard, just make sure the piece you're using is flat and doesn't have any folds. If you want a stronger base, you could glue together several pieces of cardboard before you start painting.
Step 2: Make a plan for your design
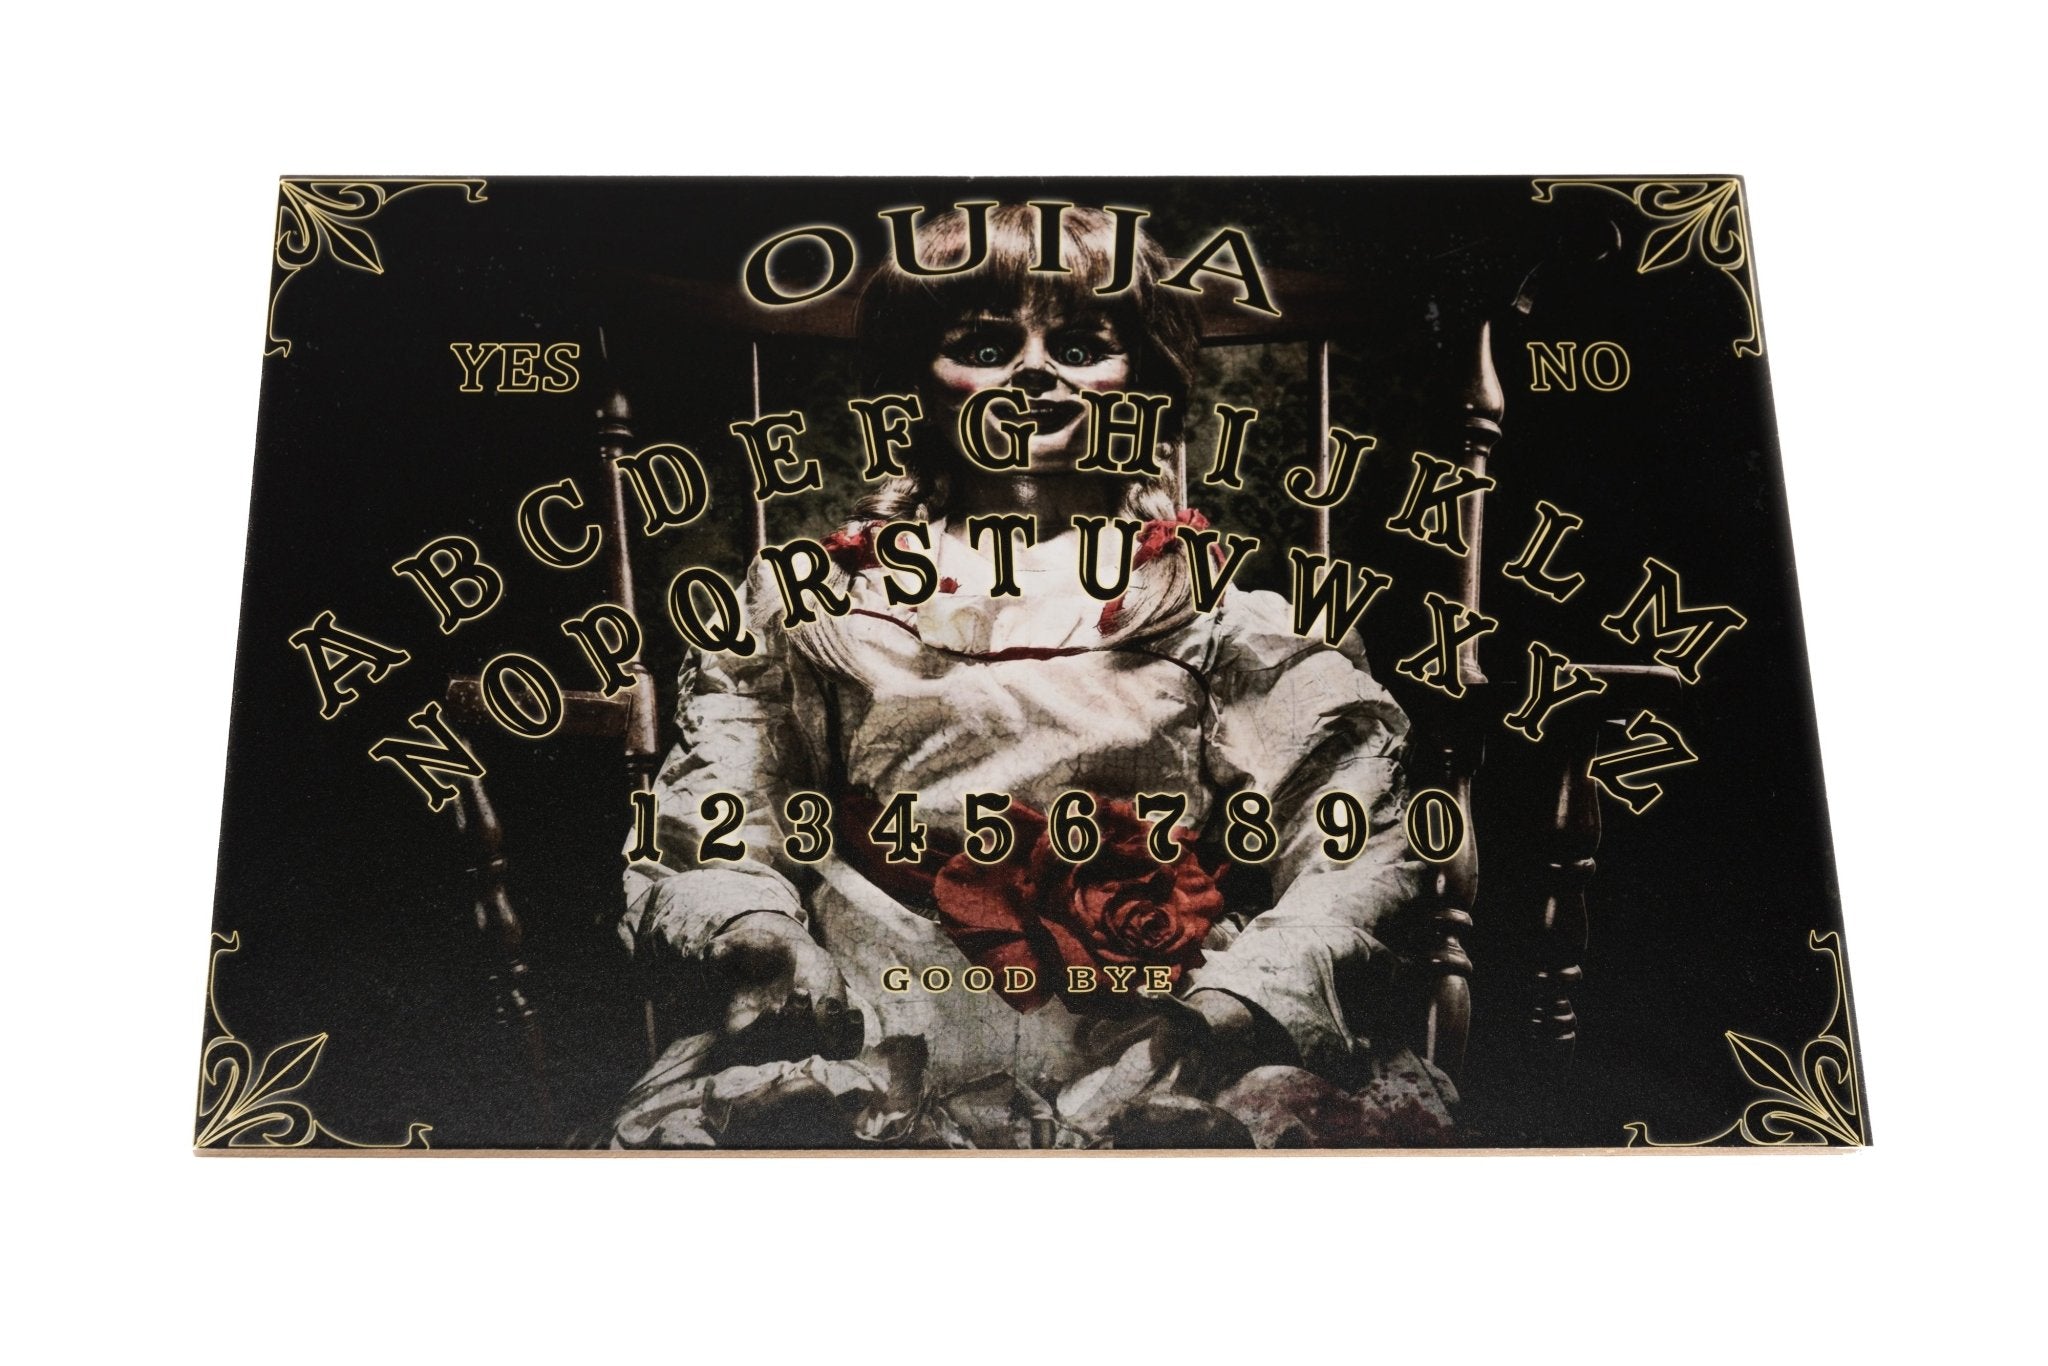
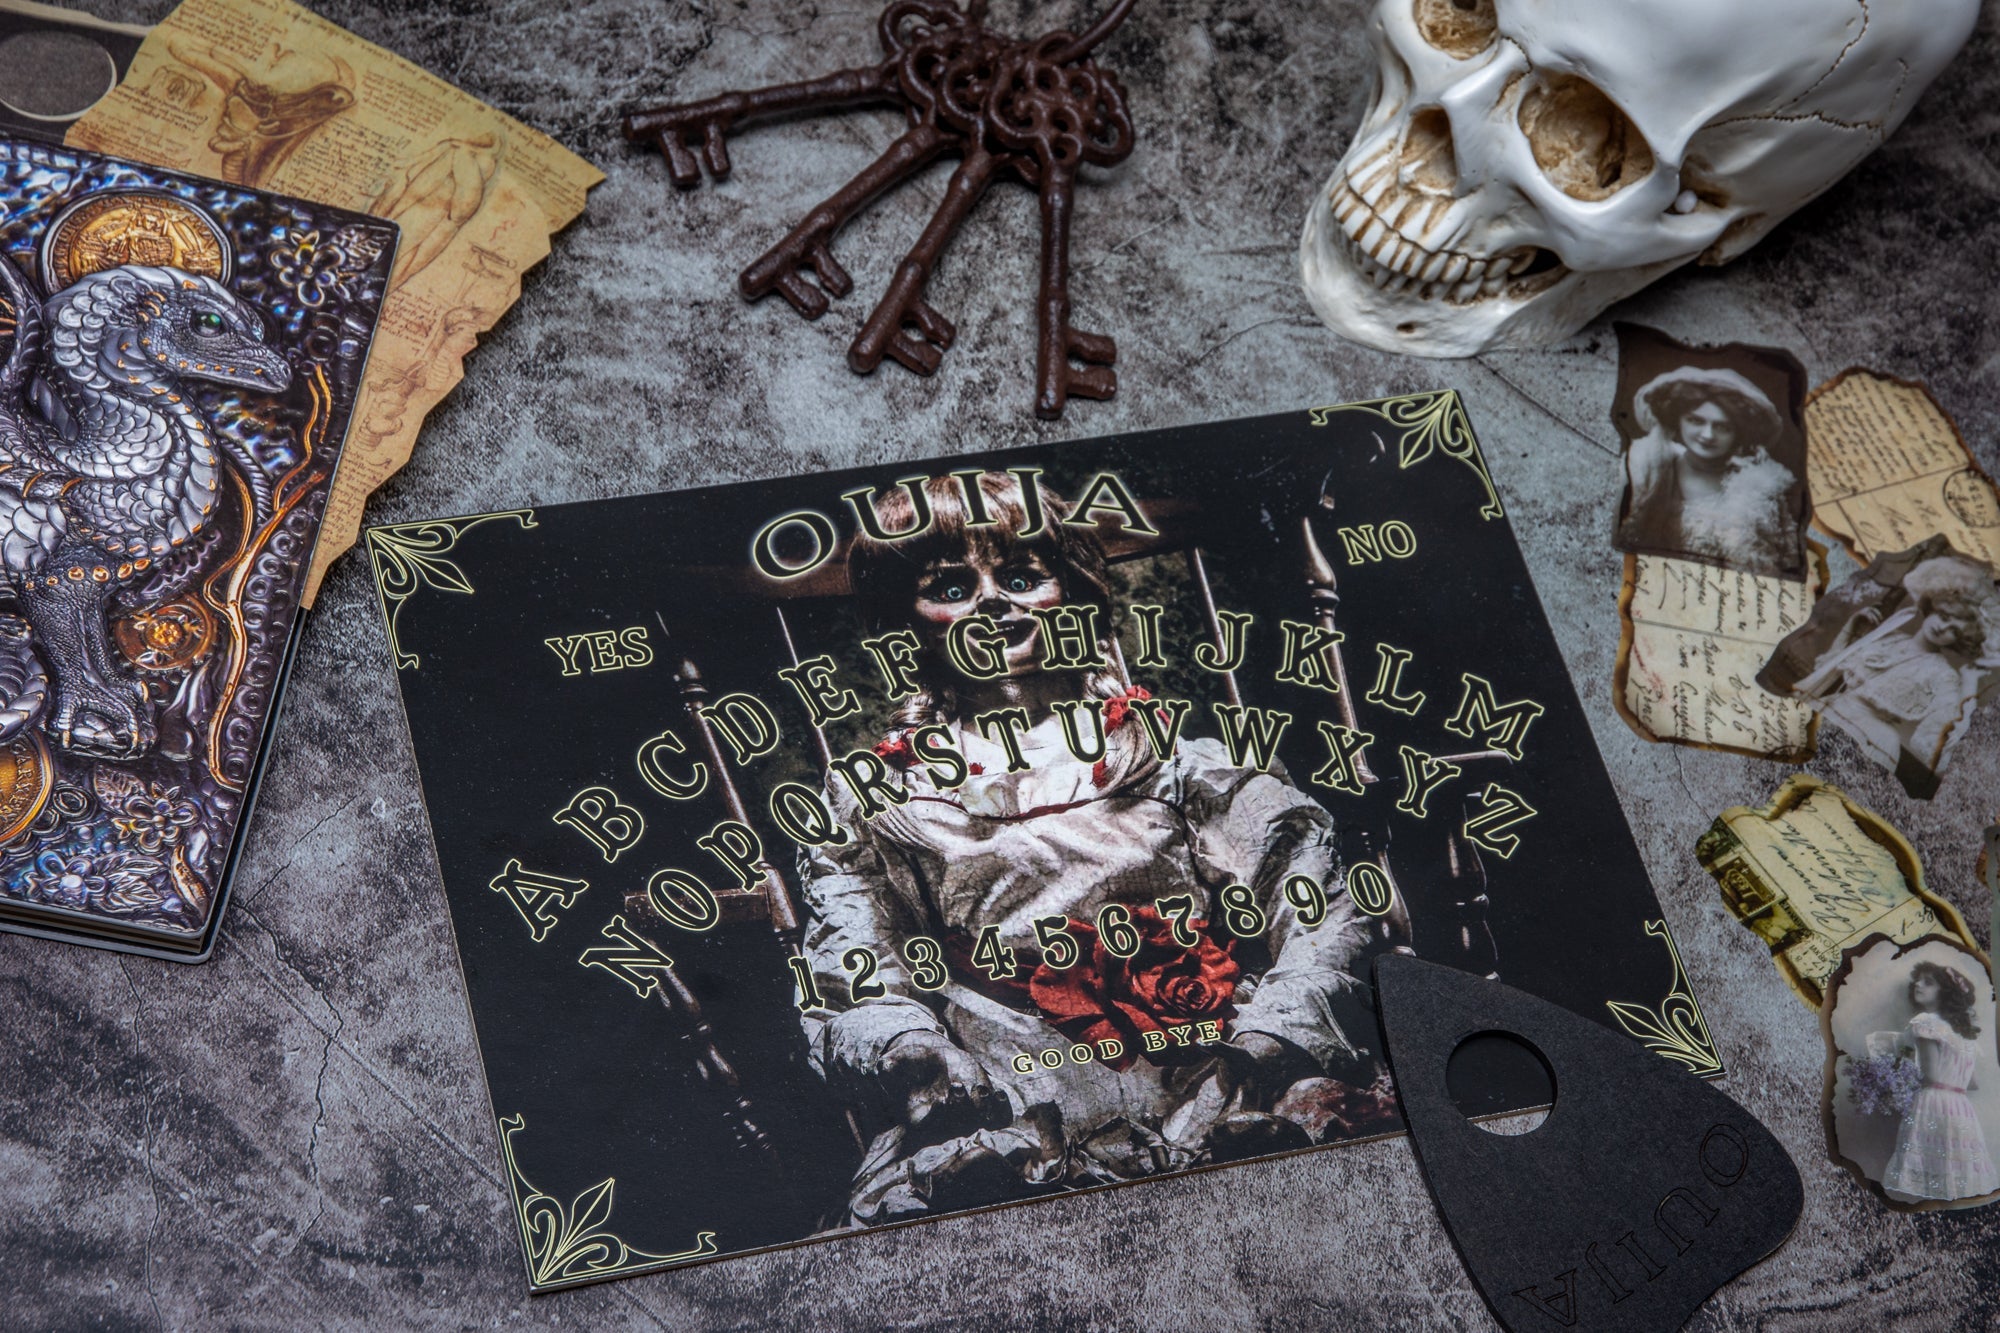
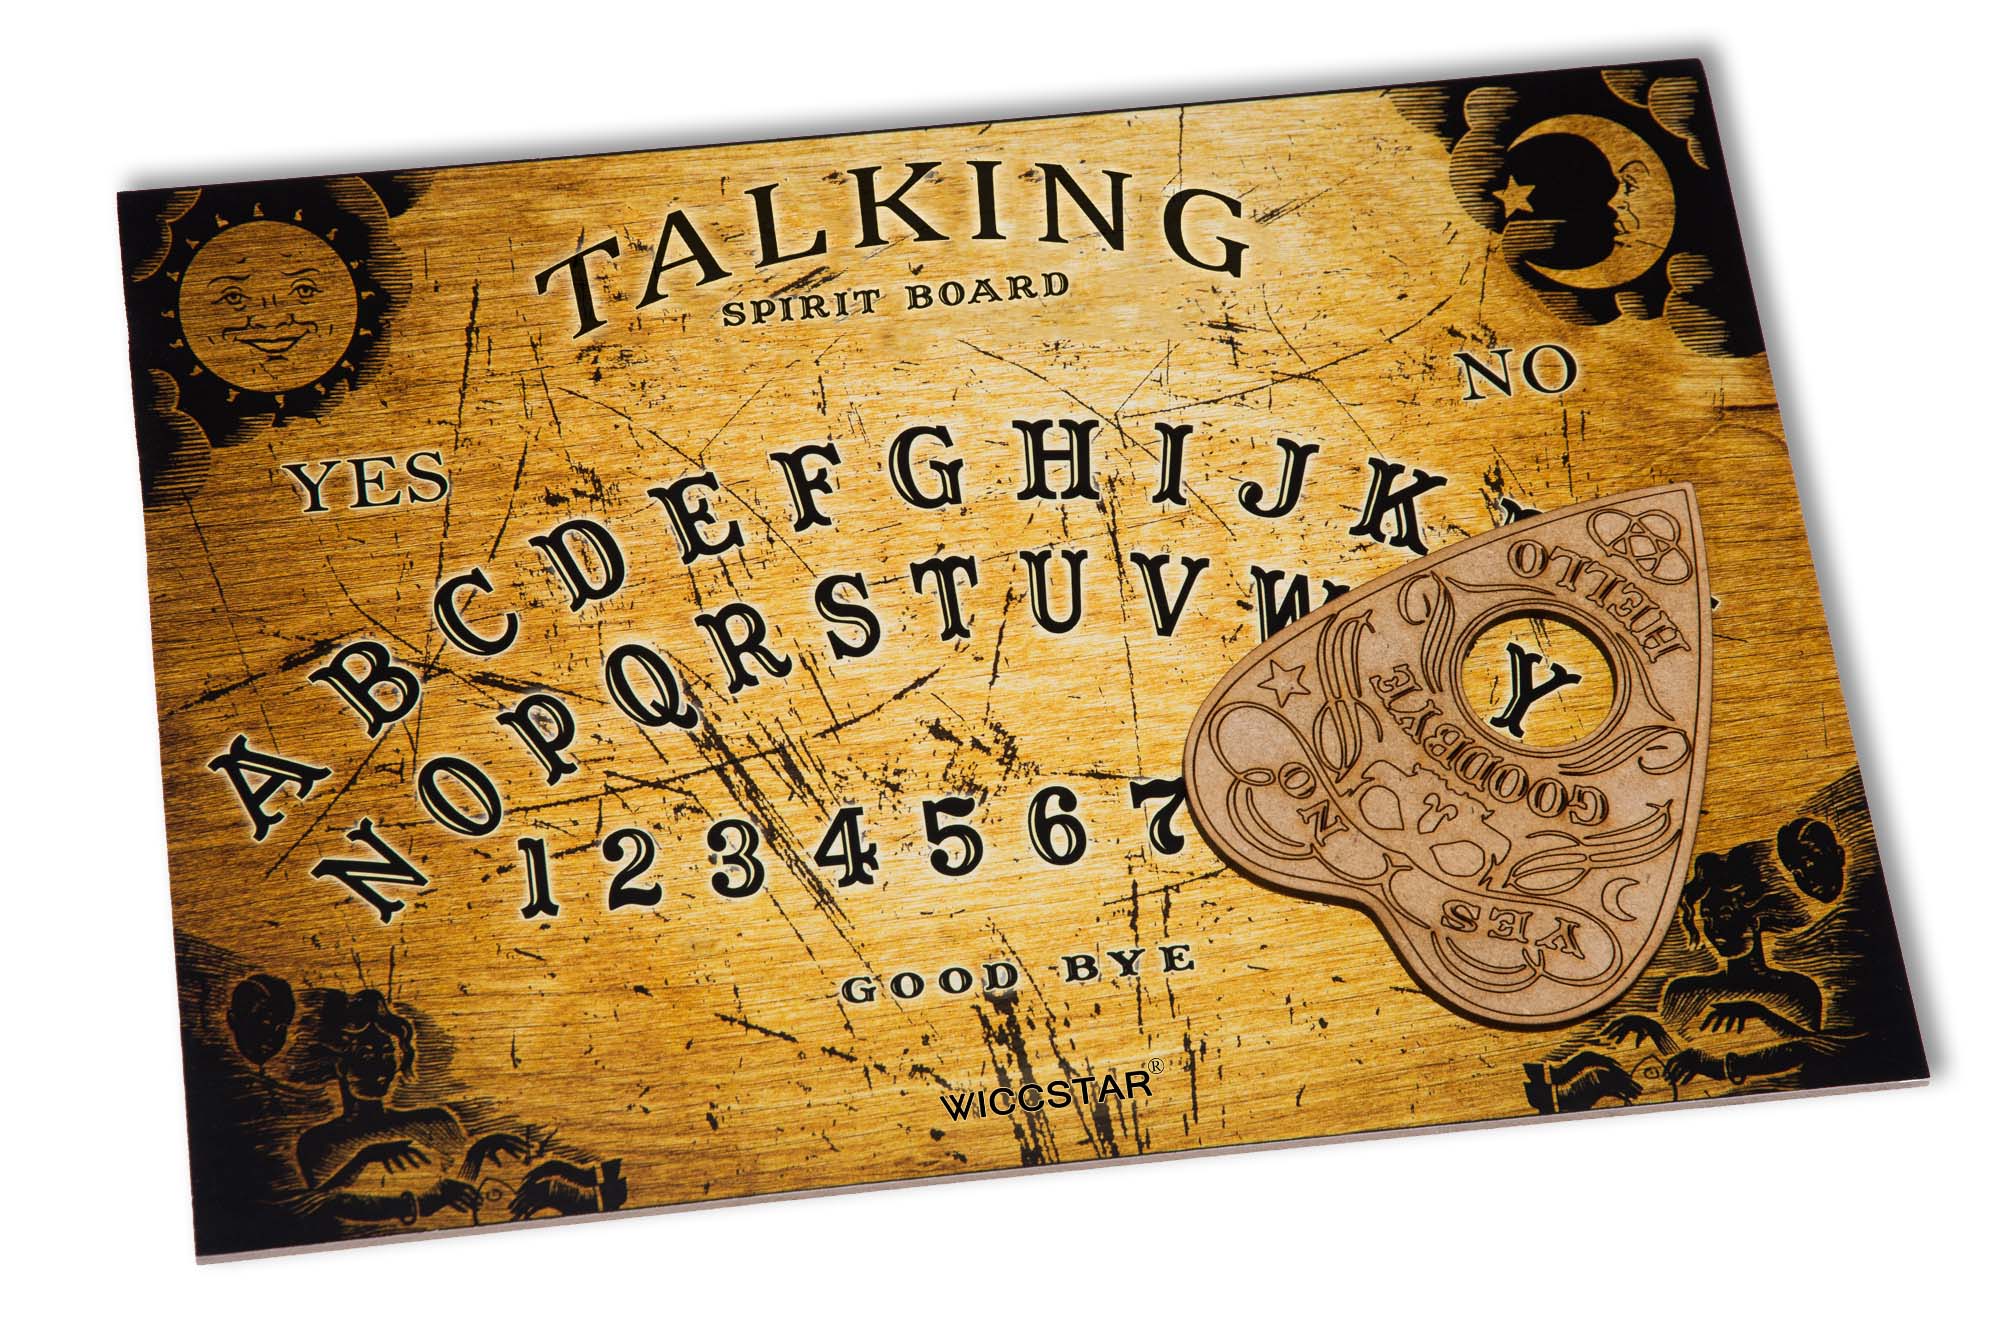
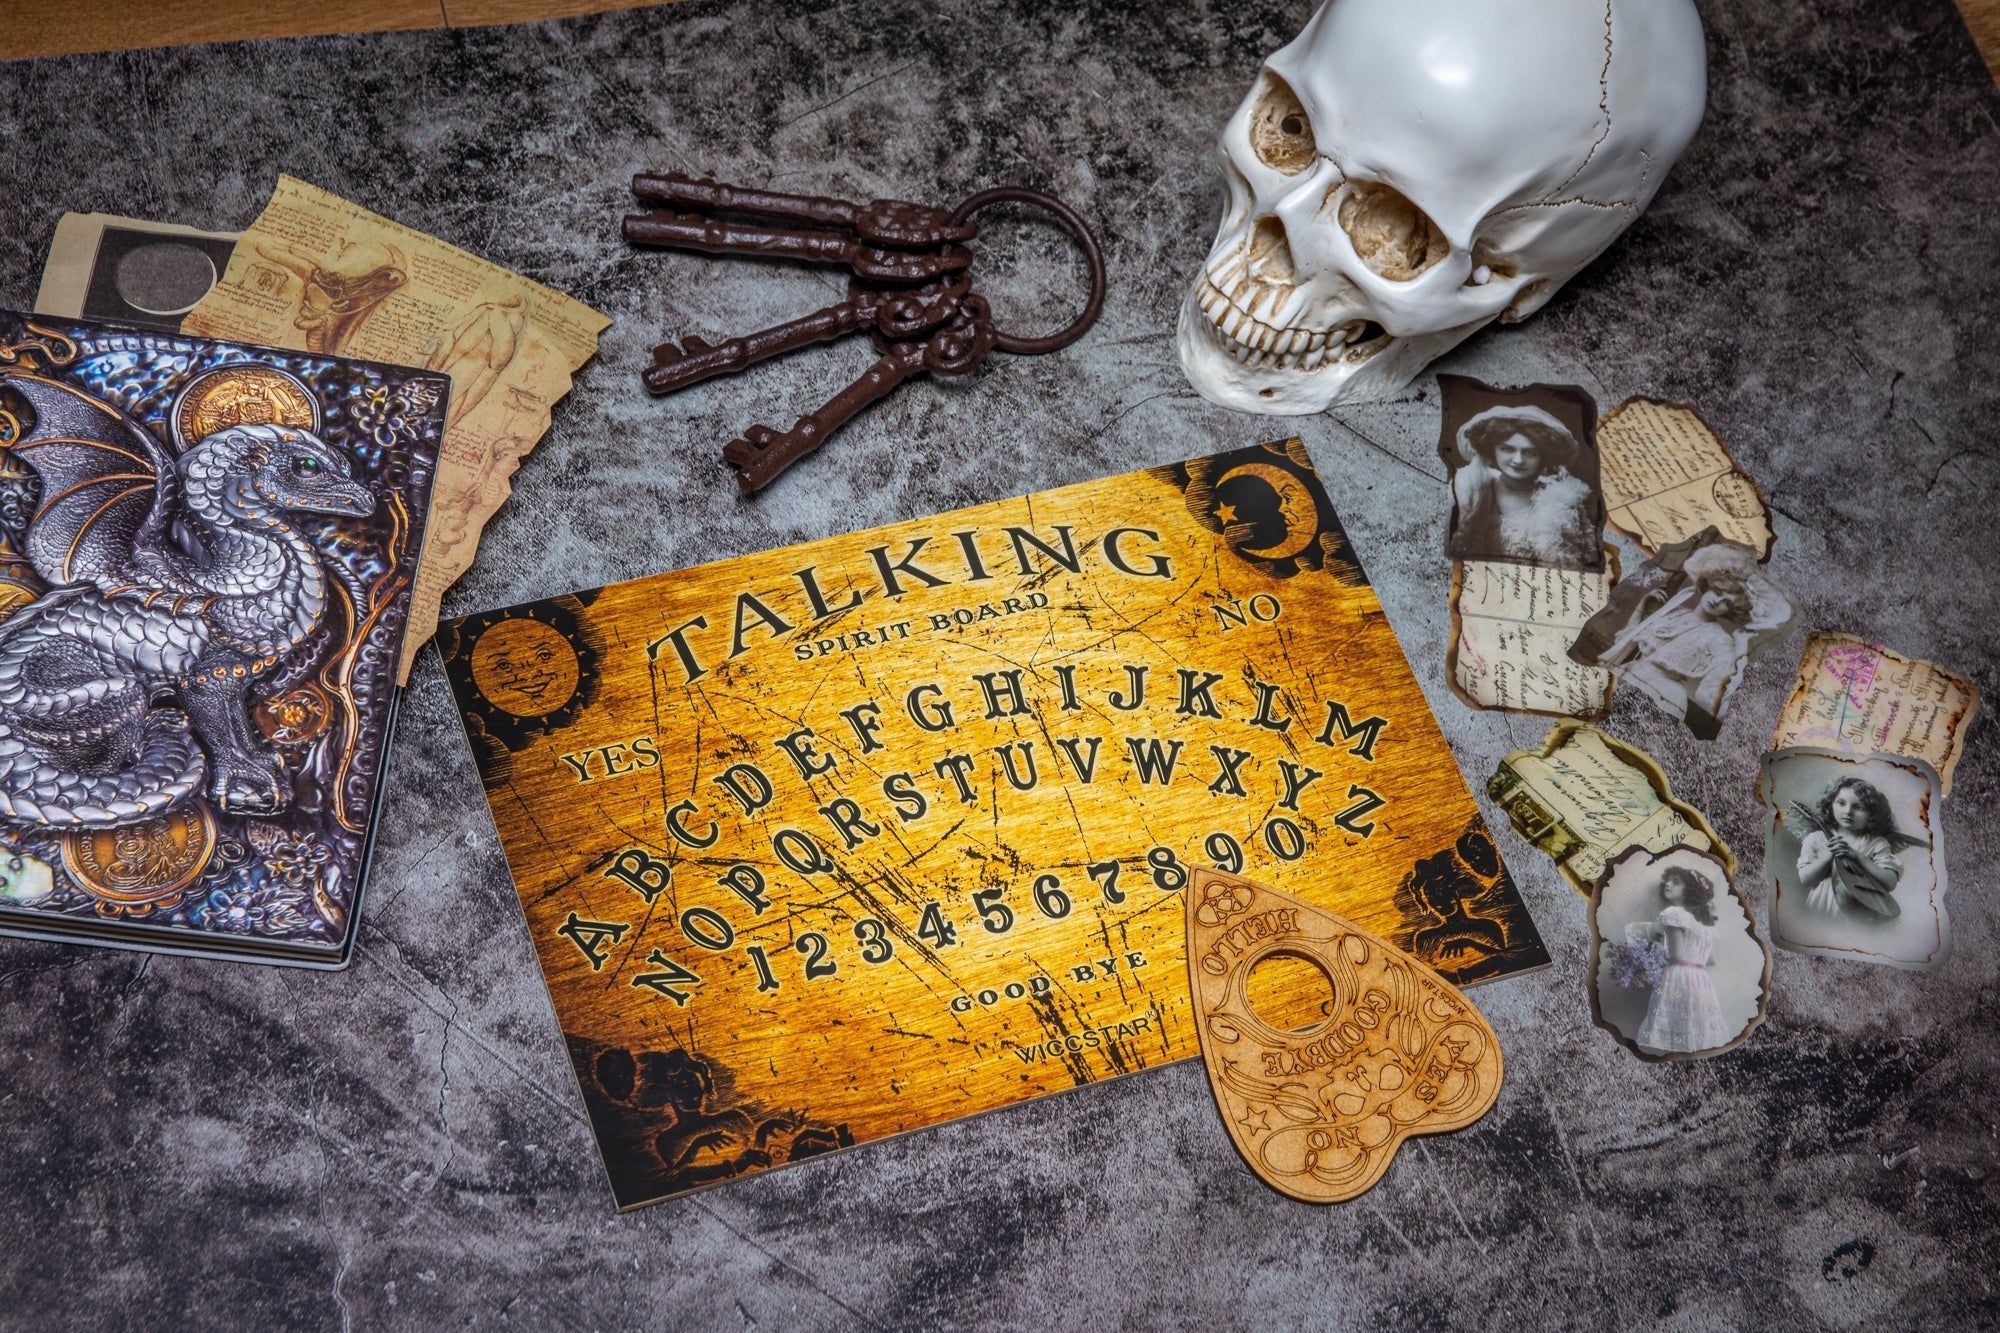
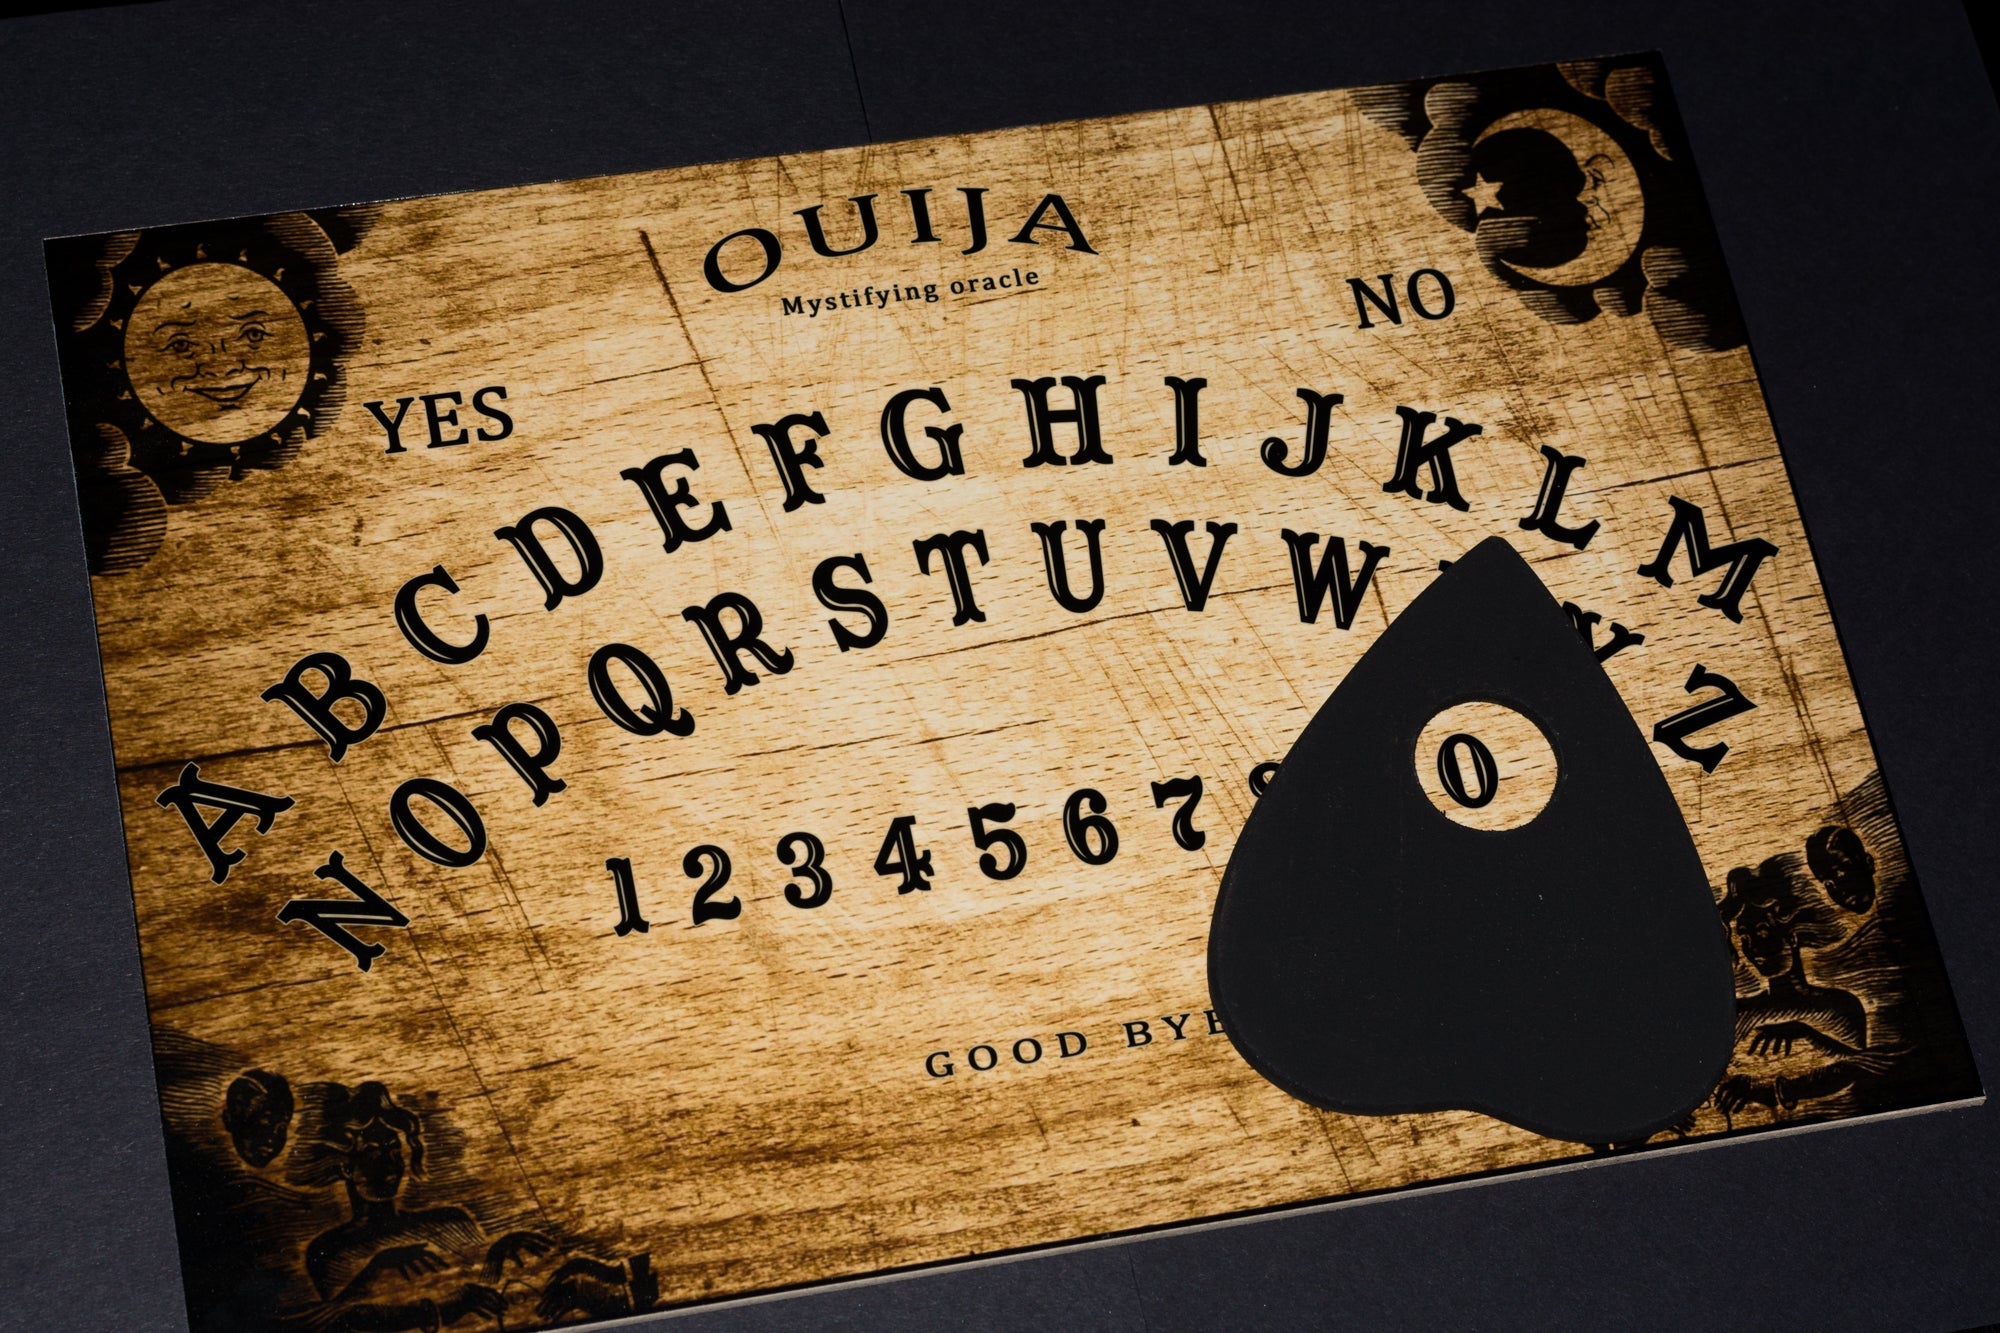
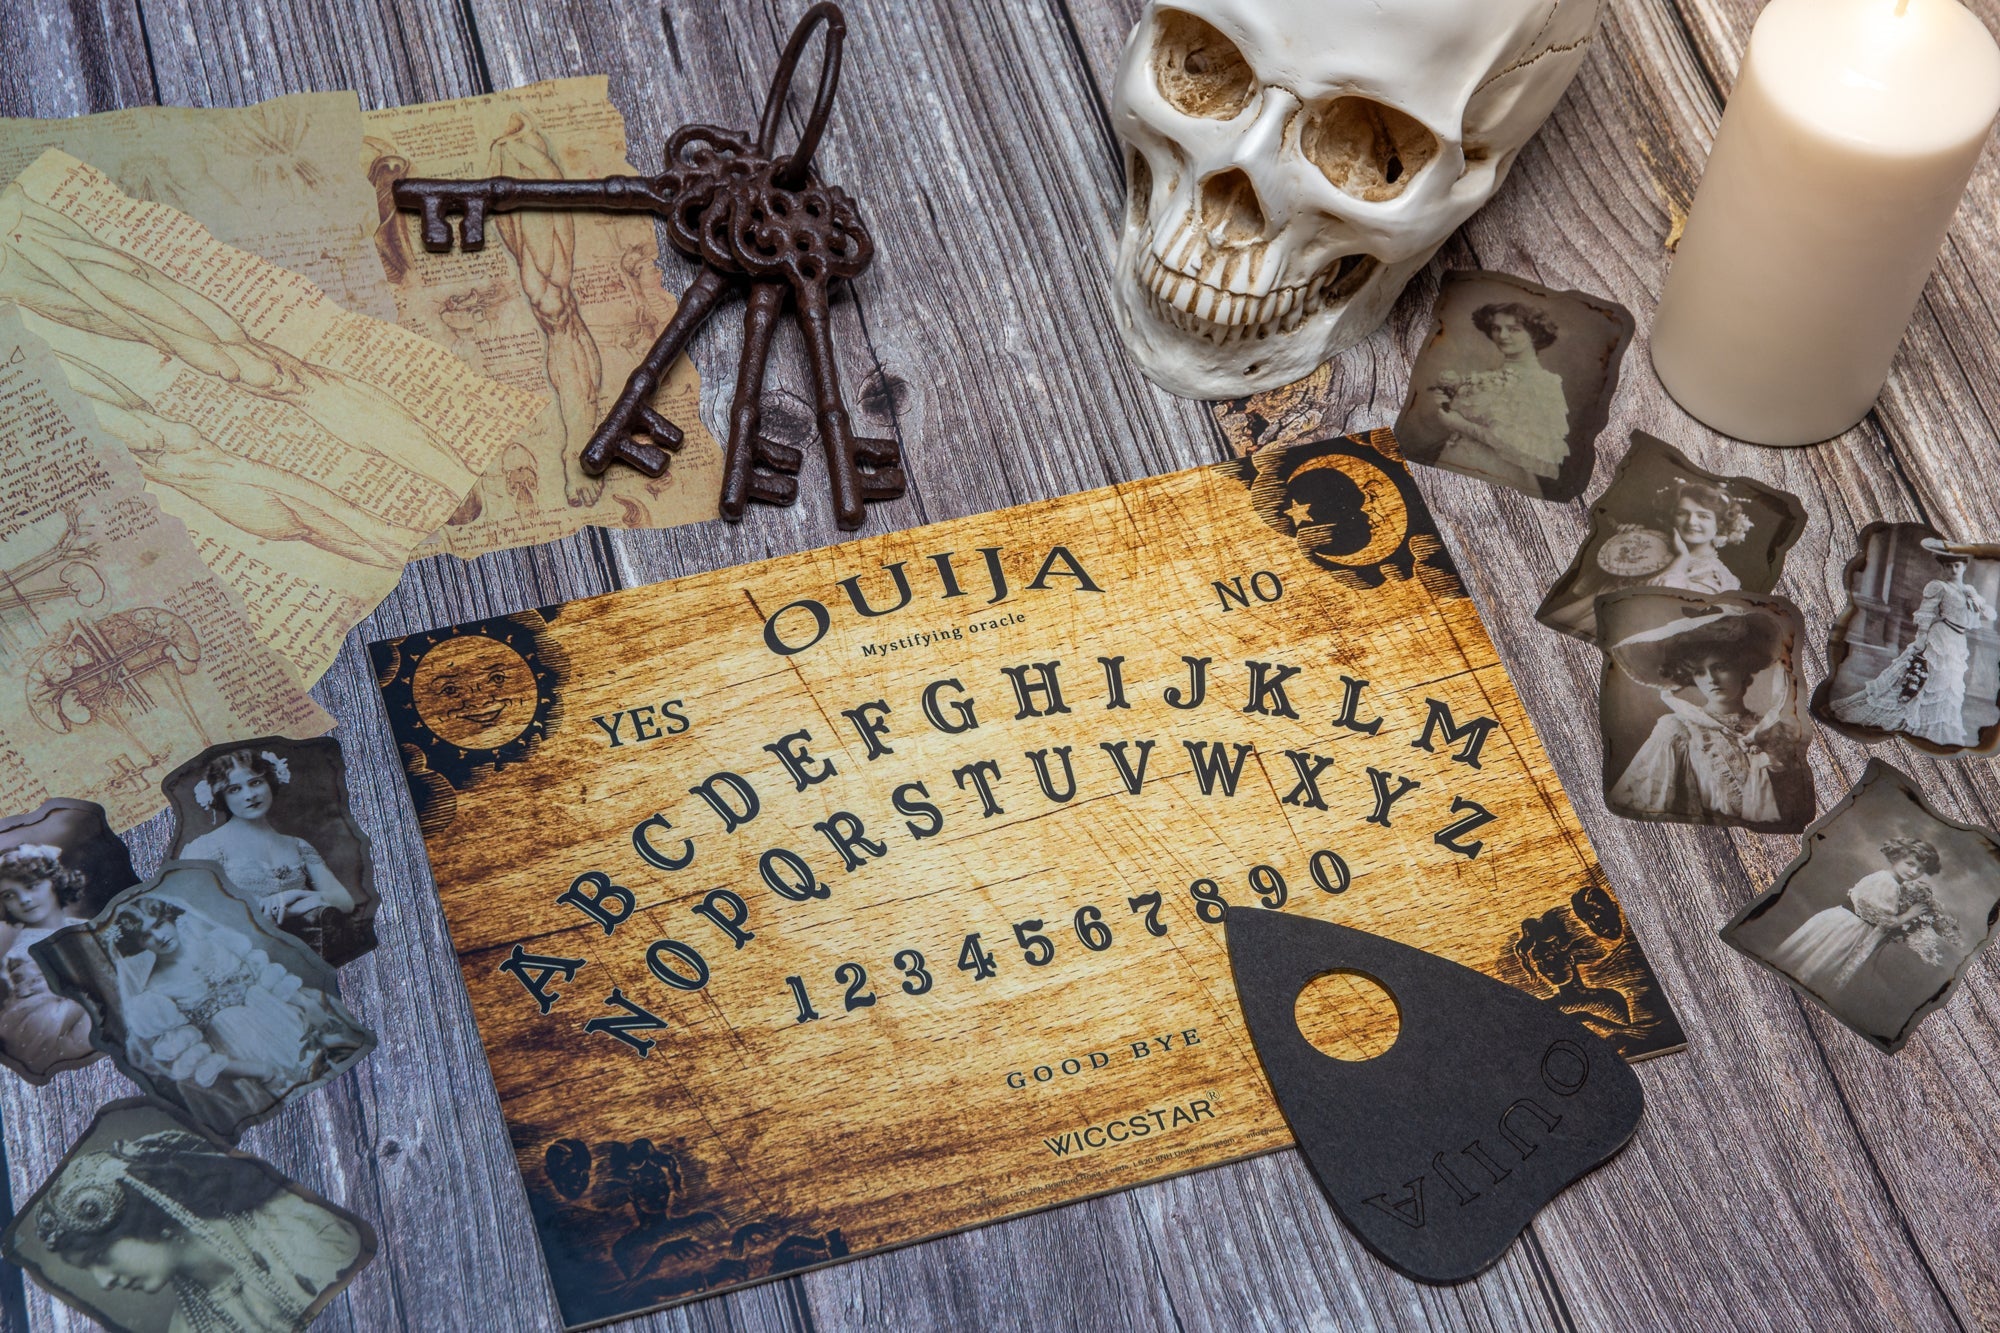
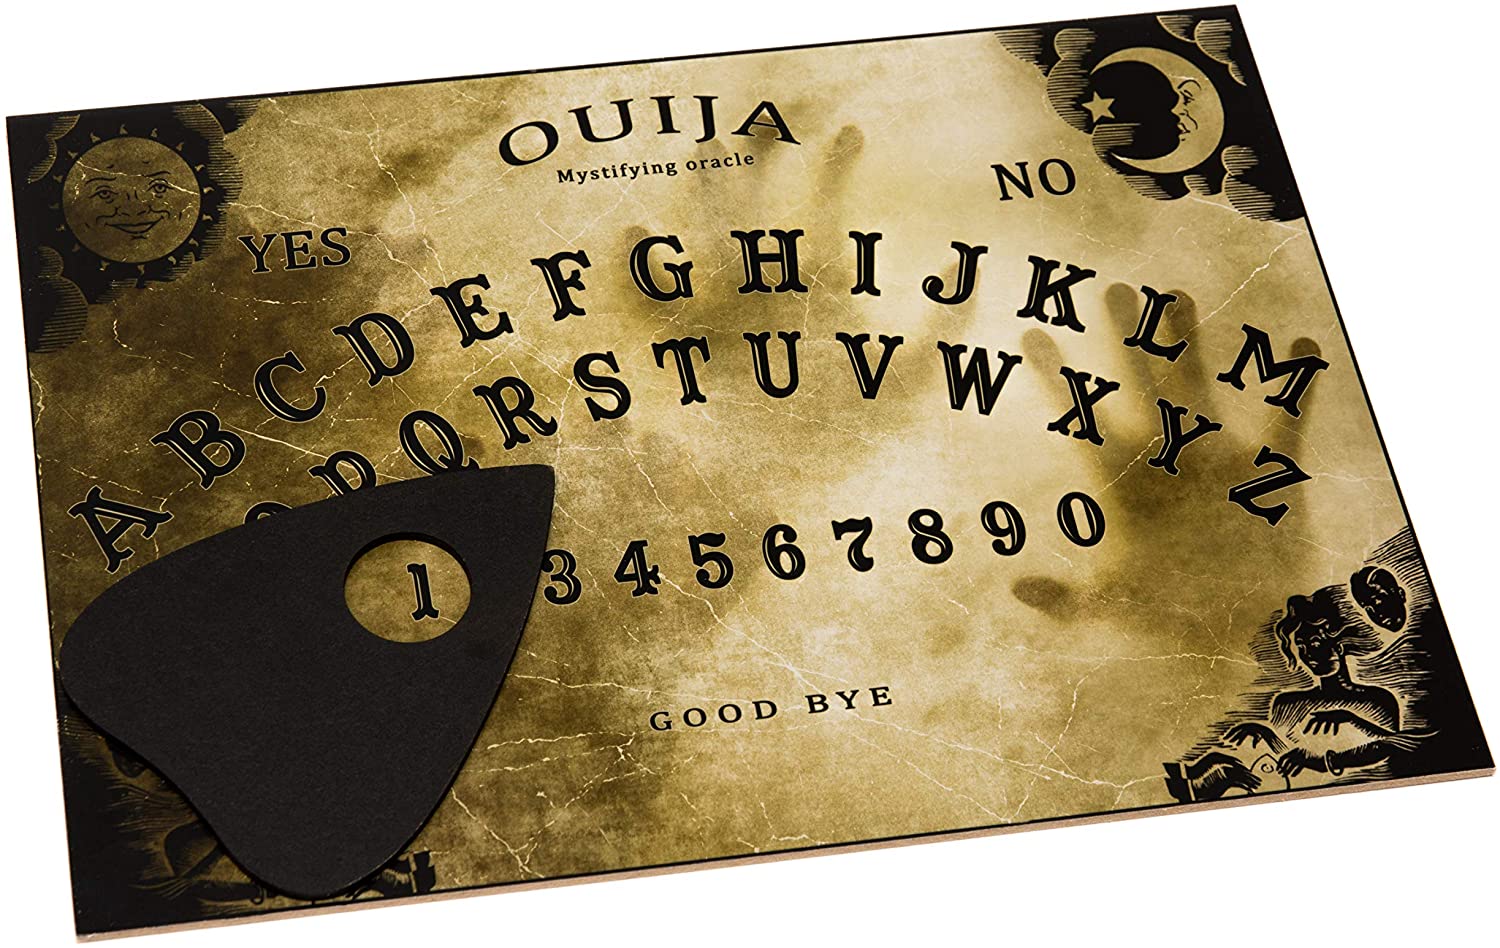
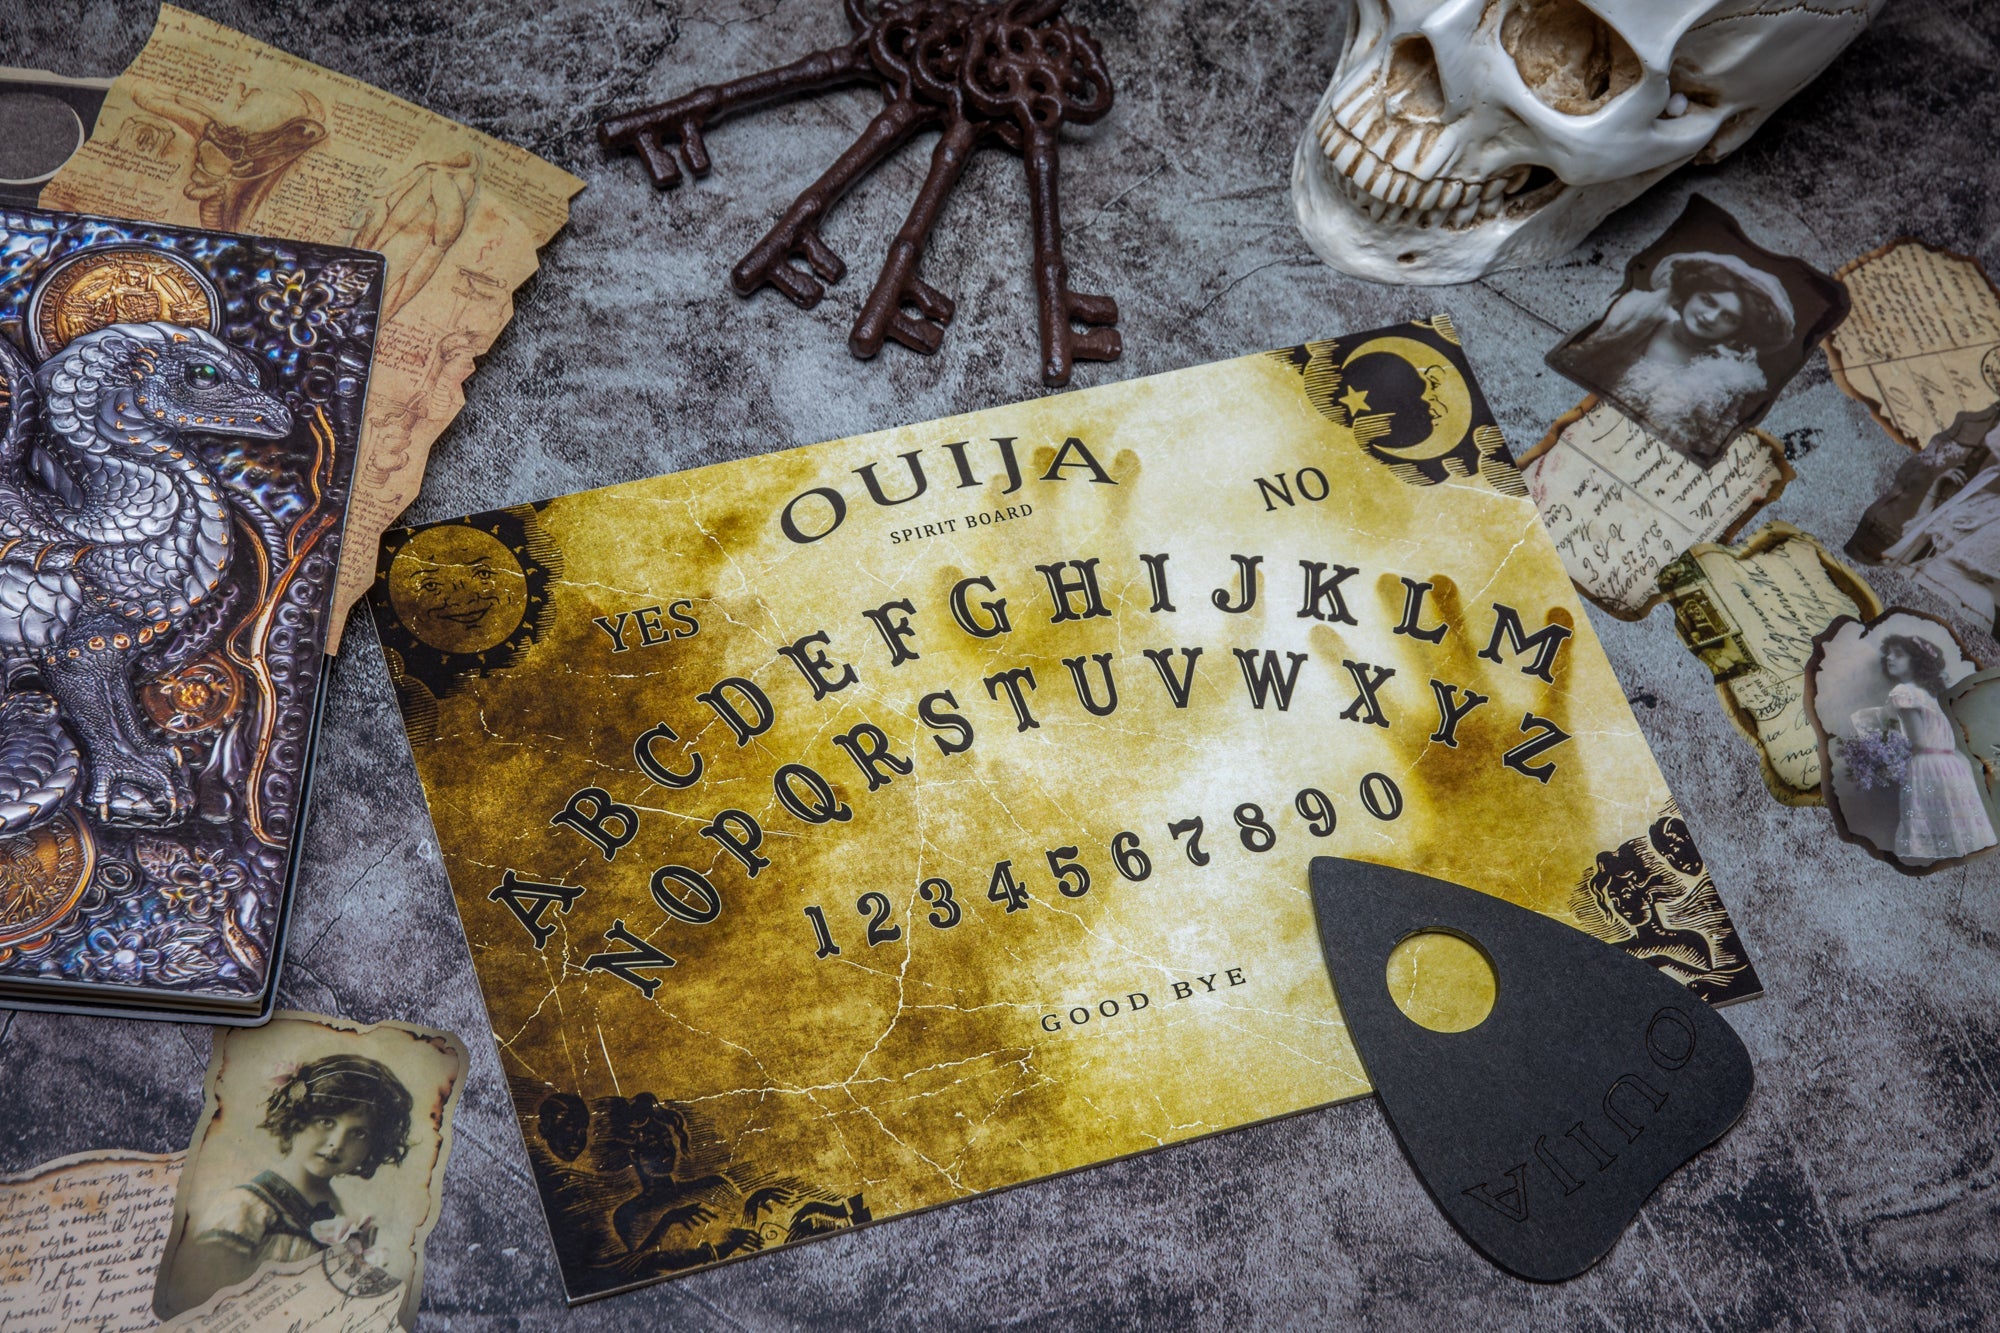
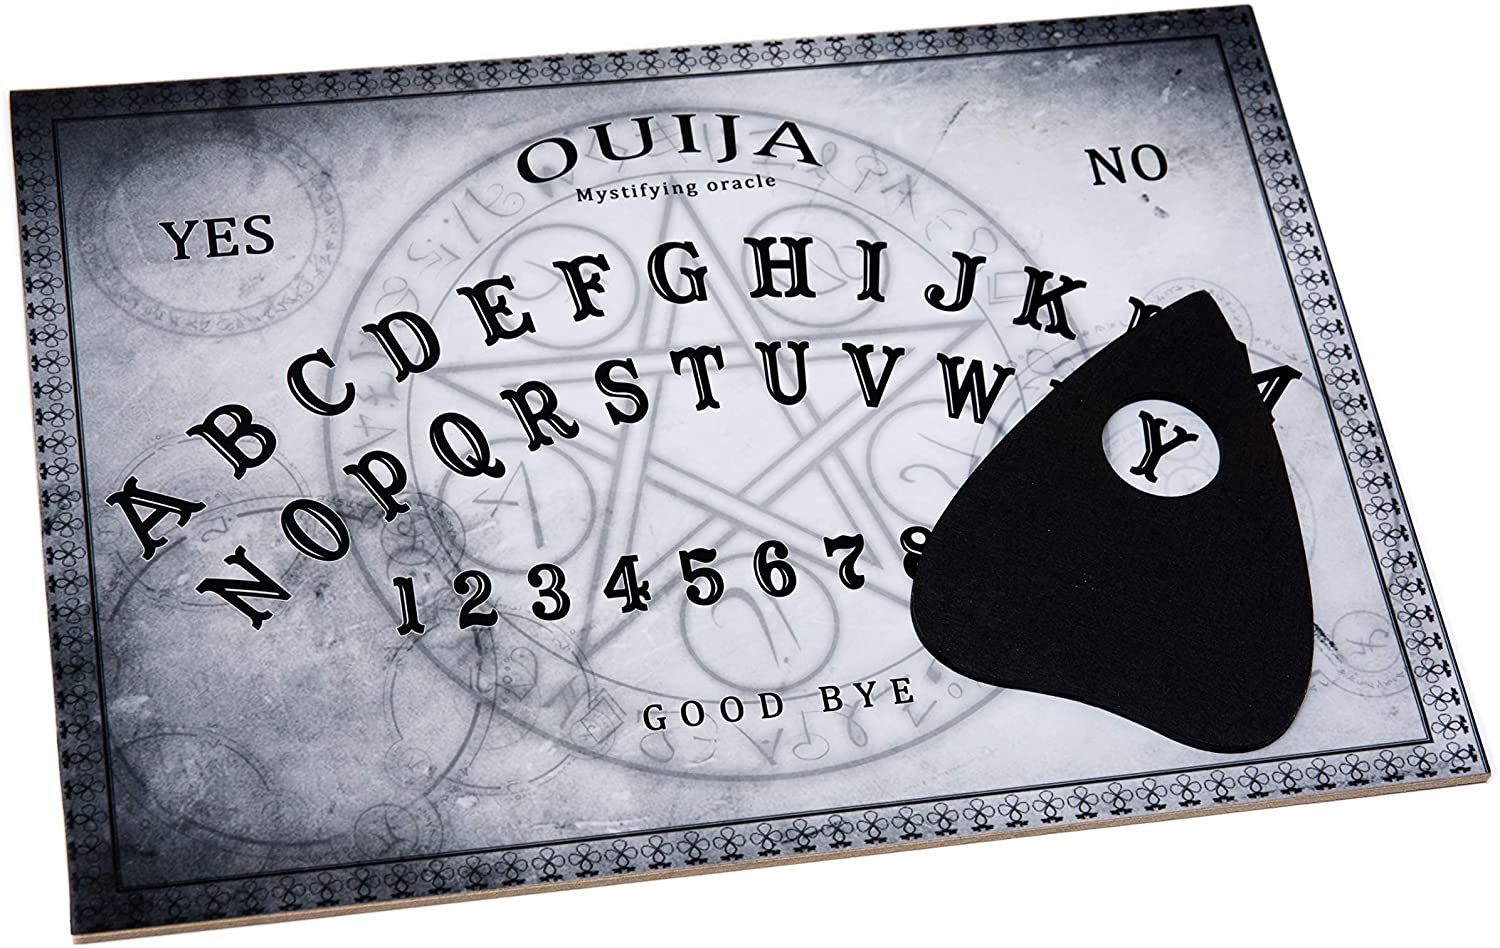
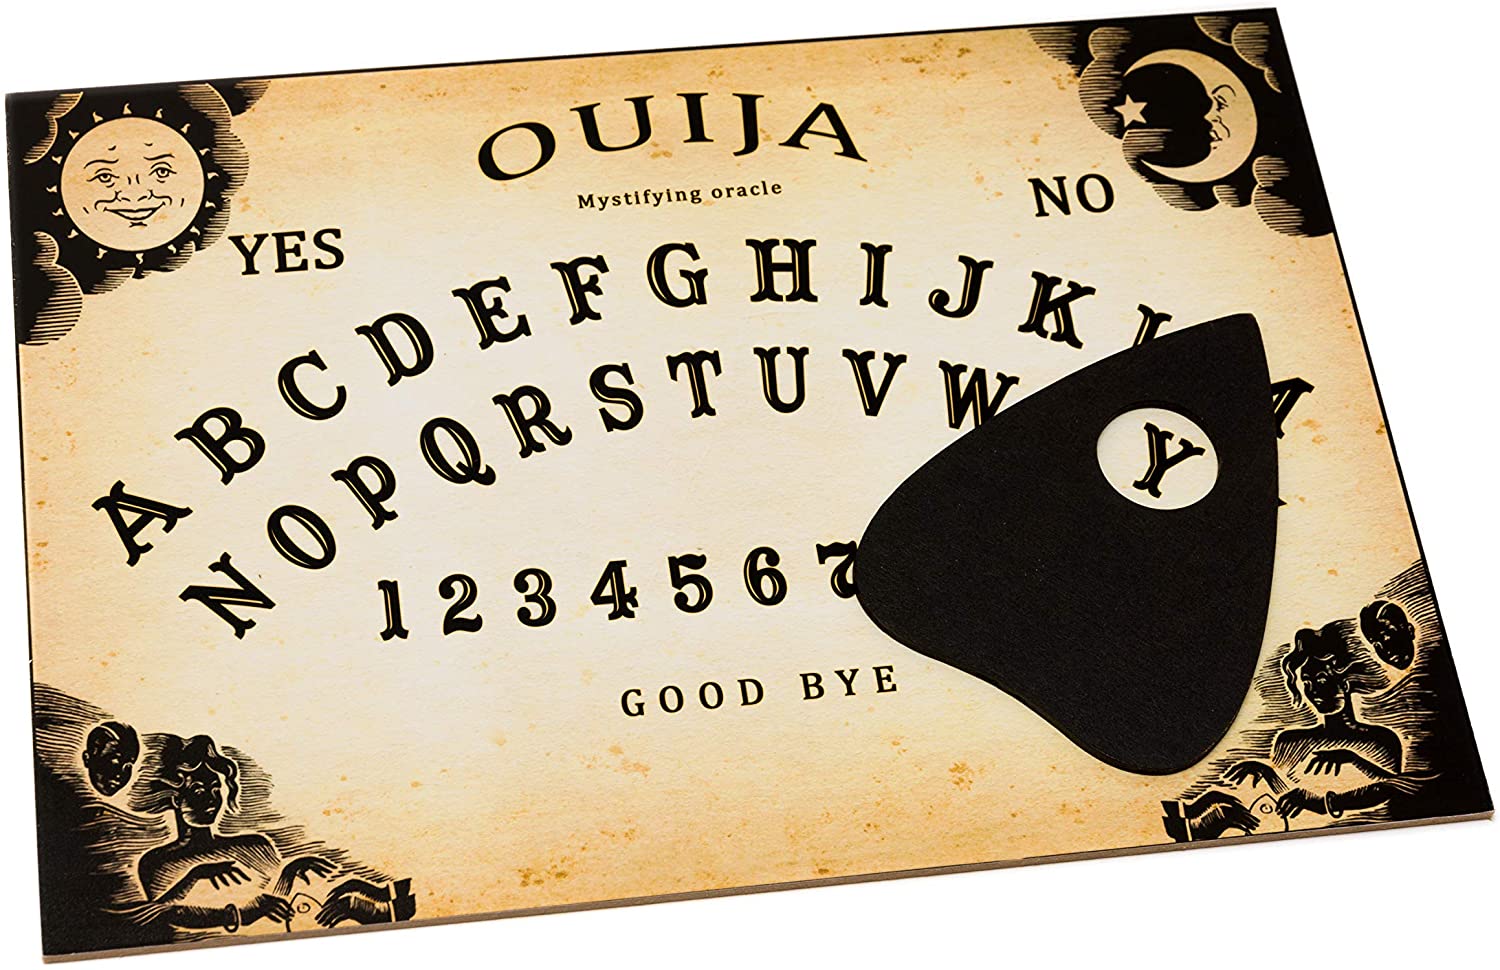
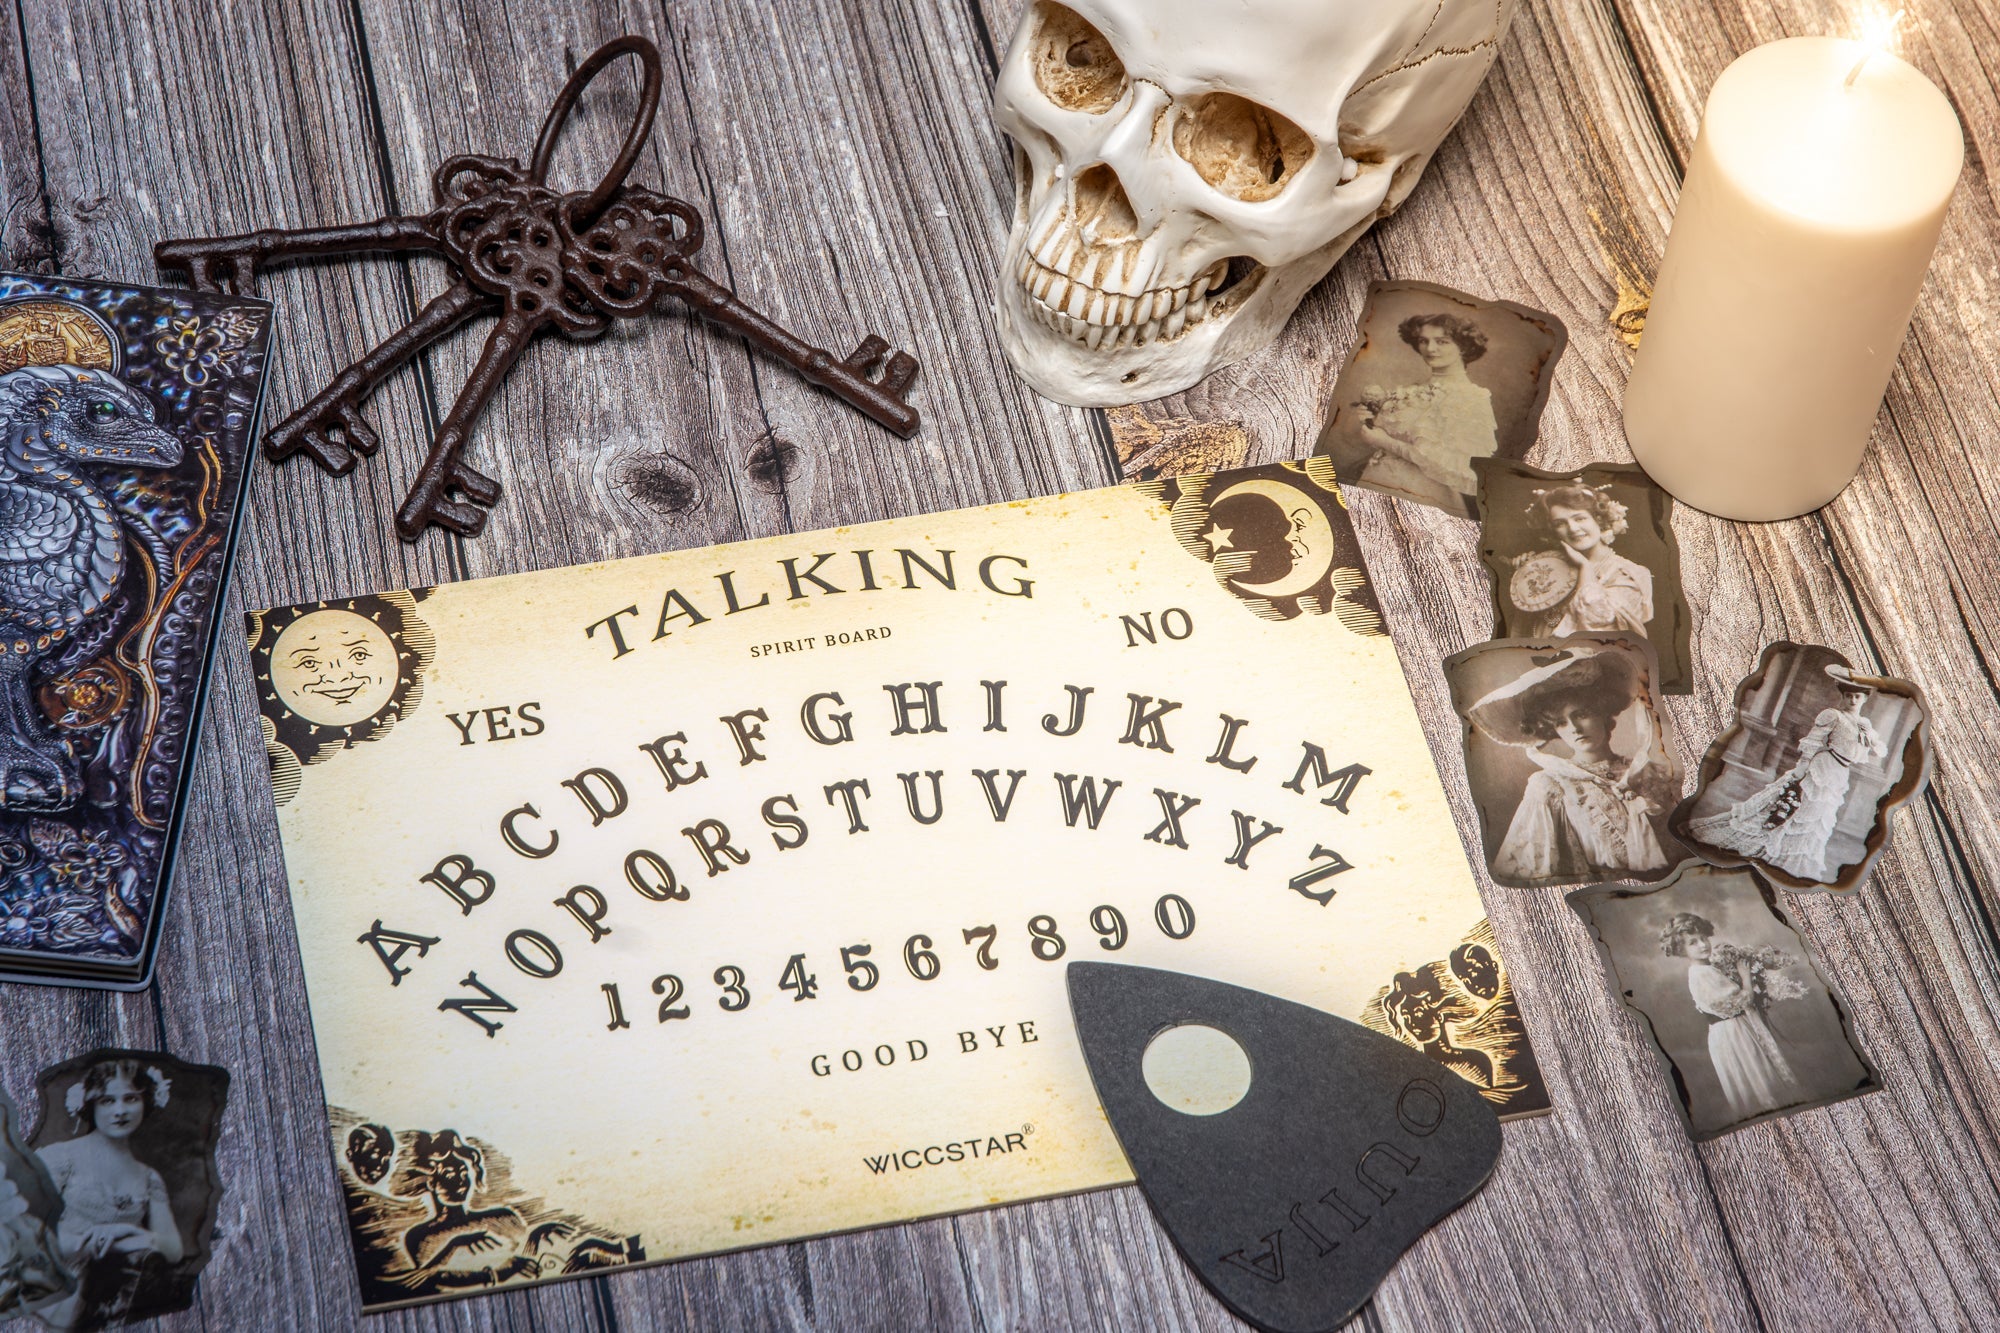
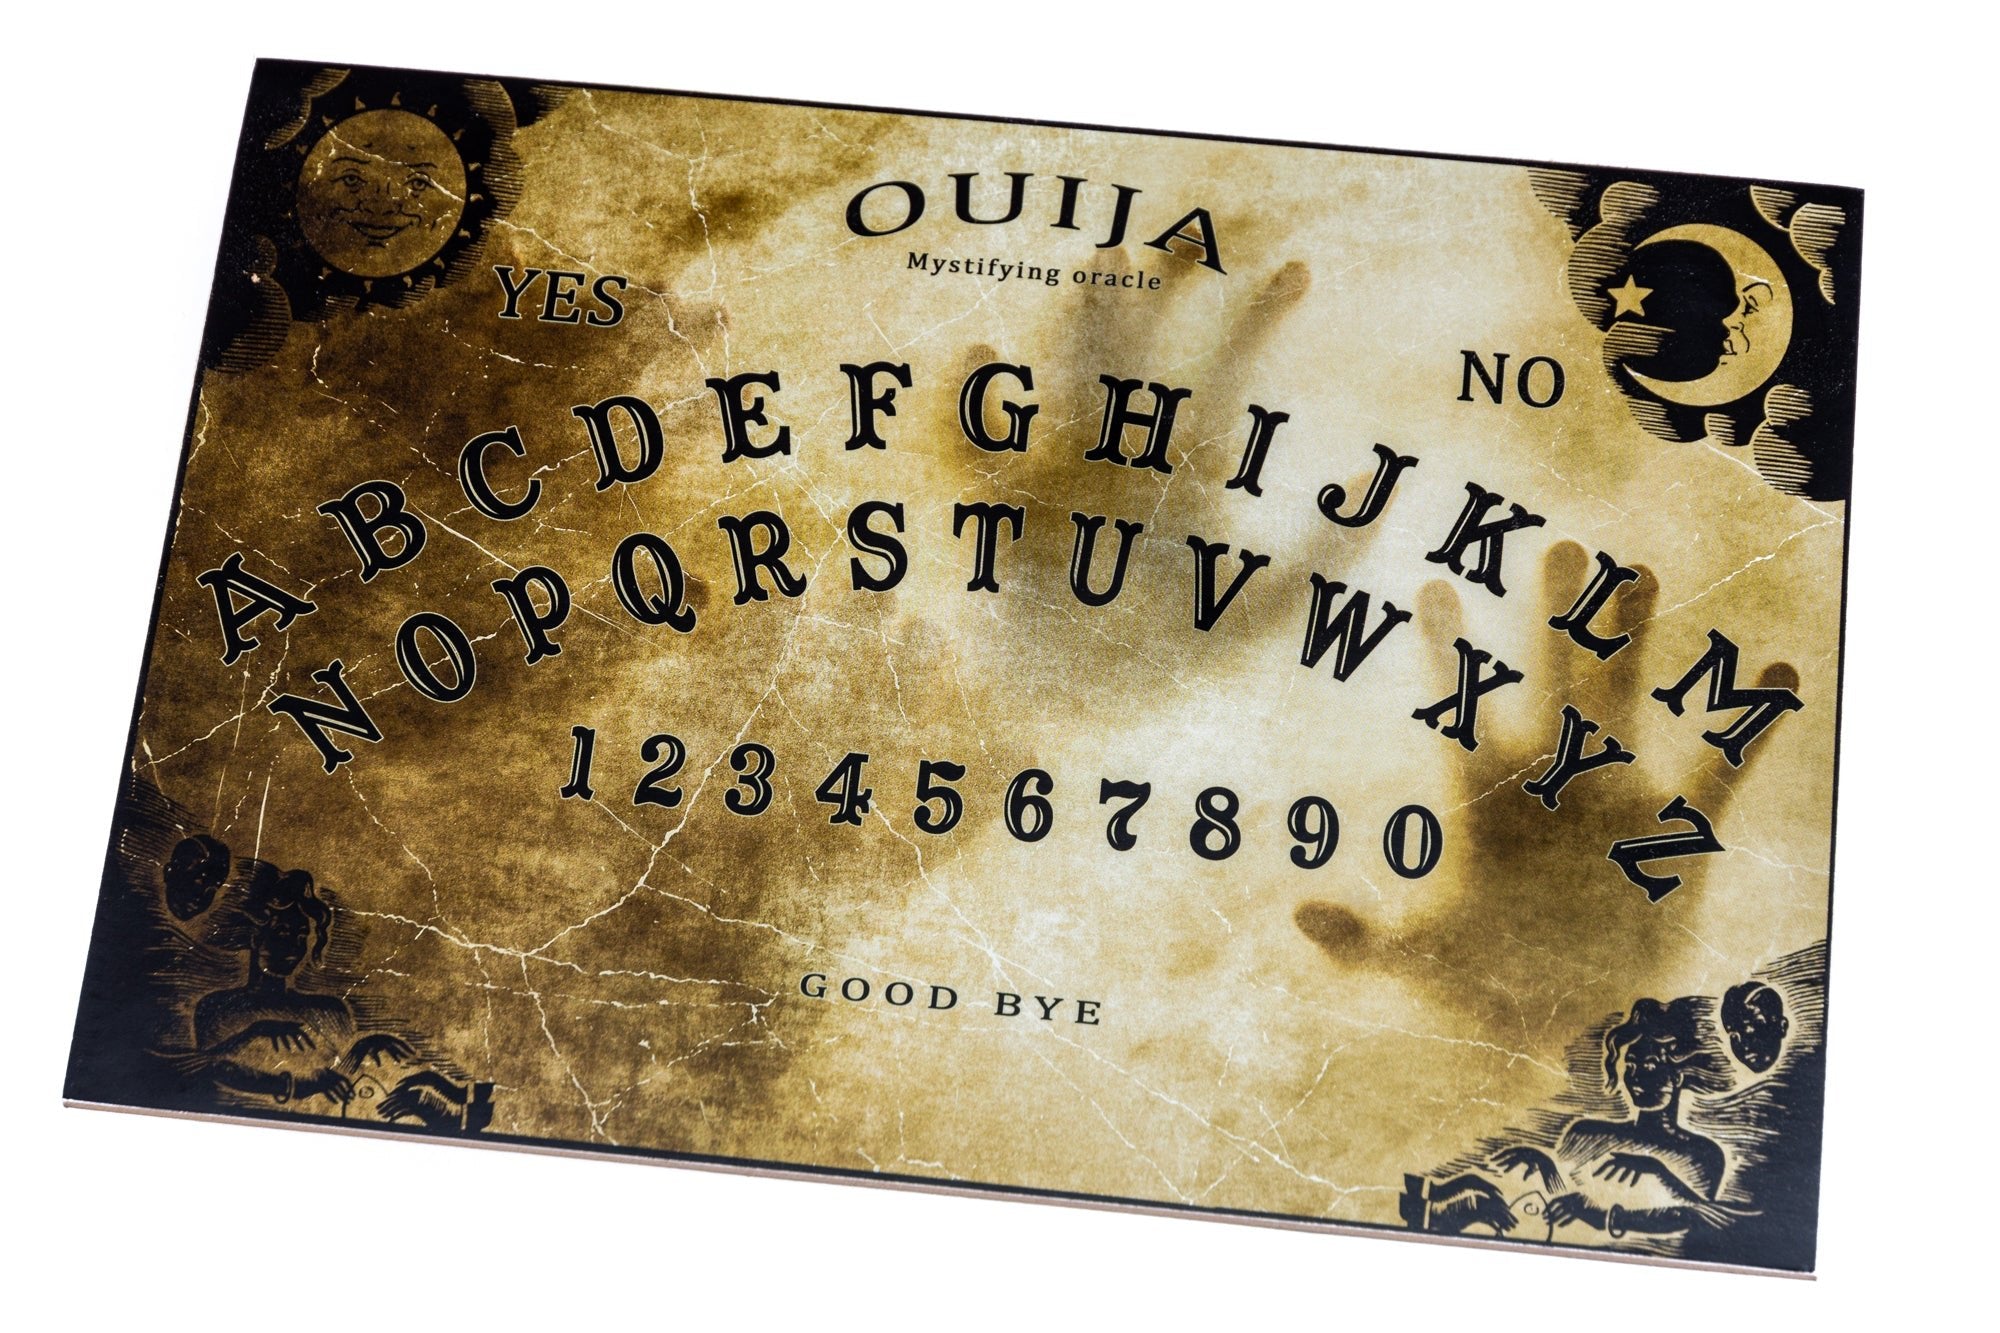
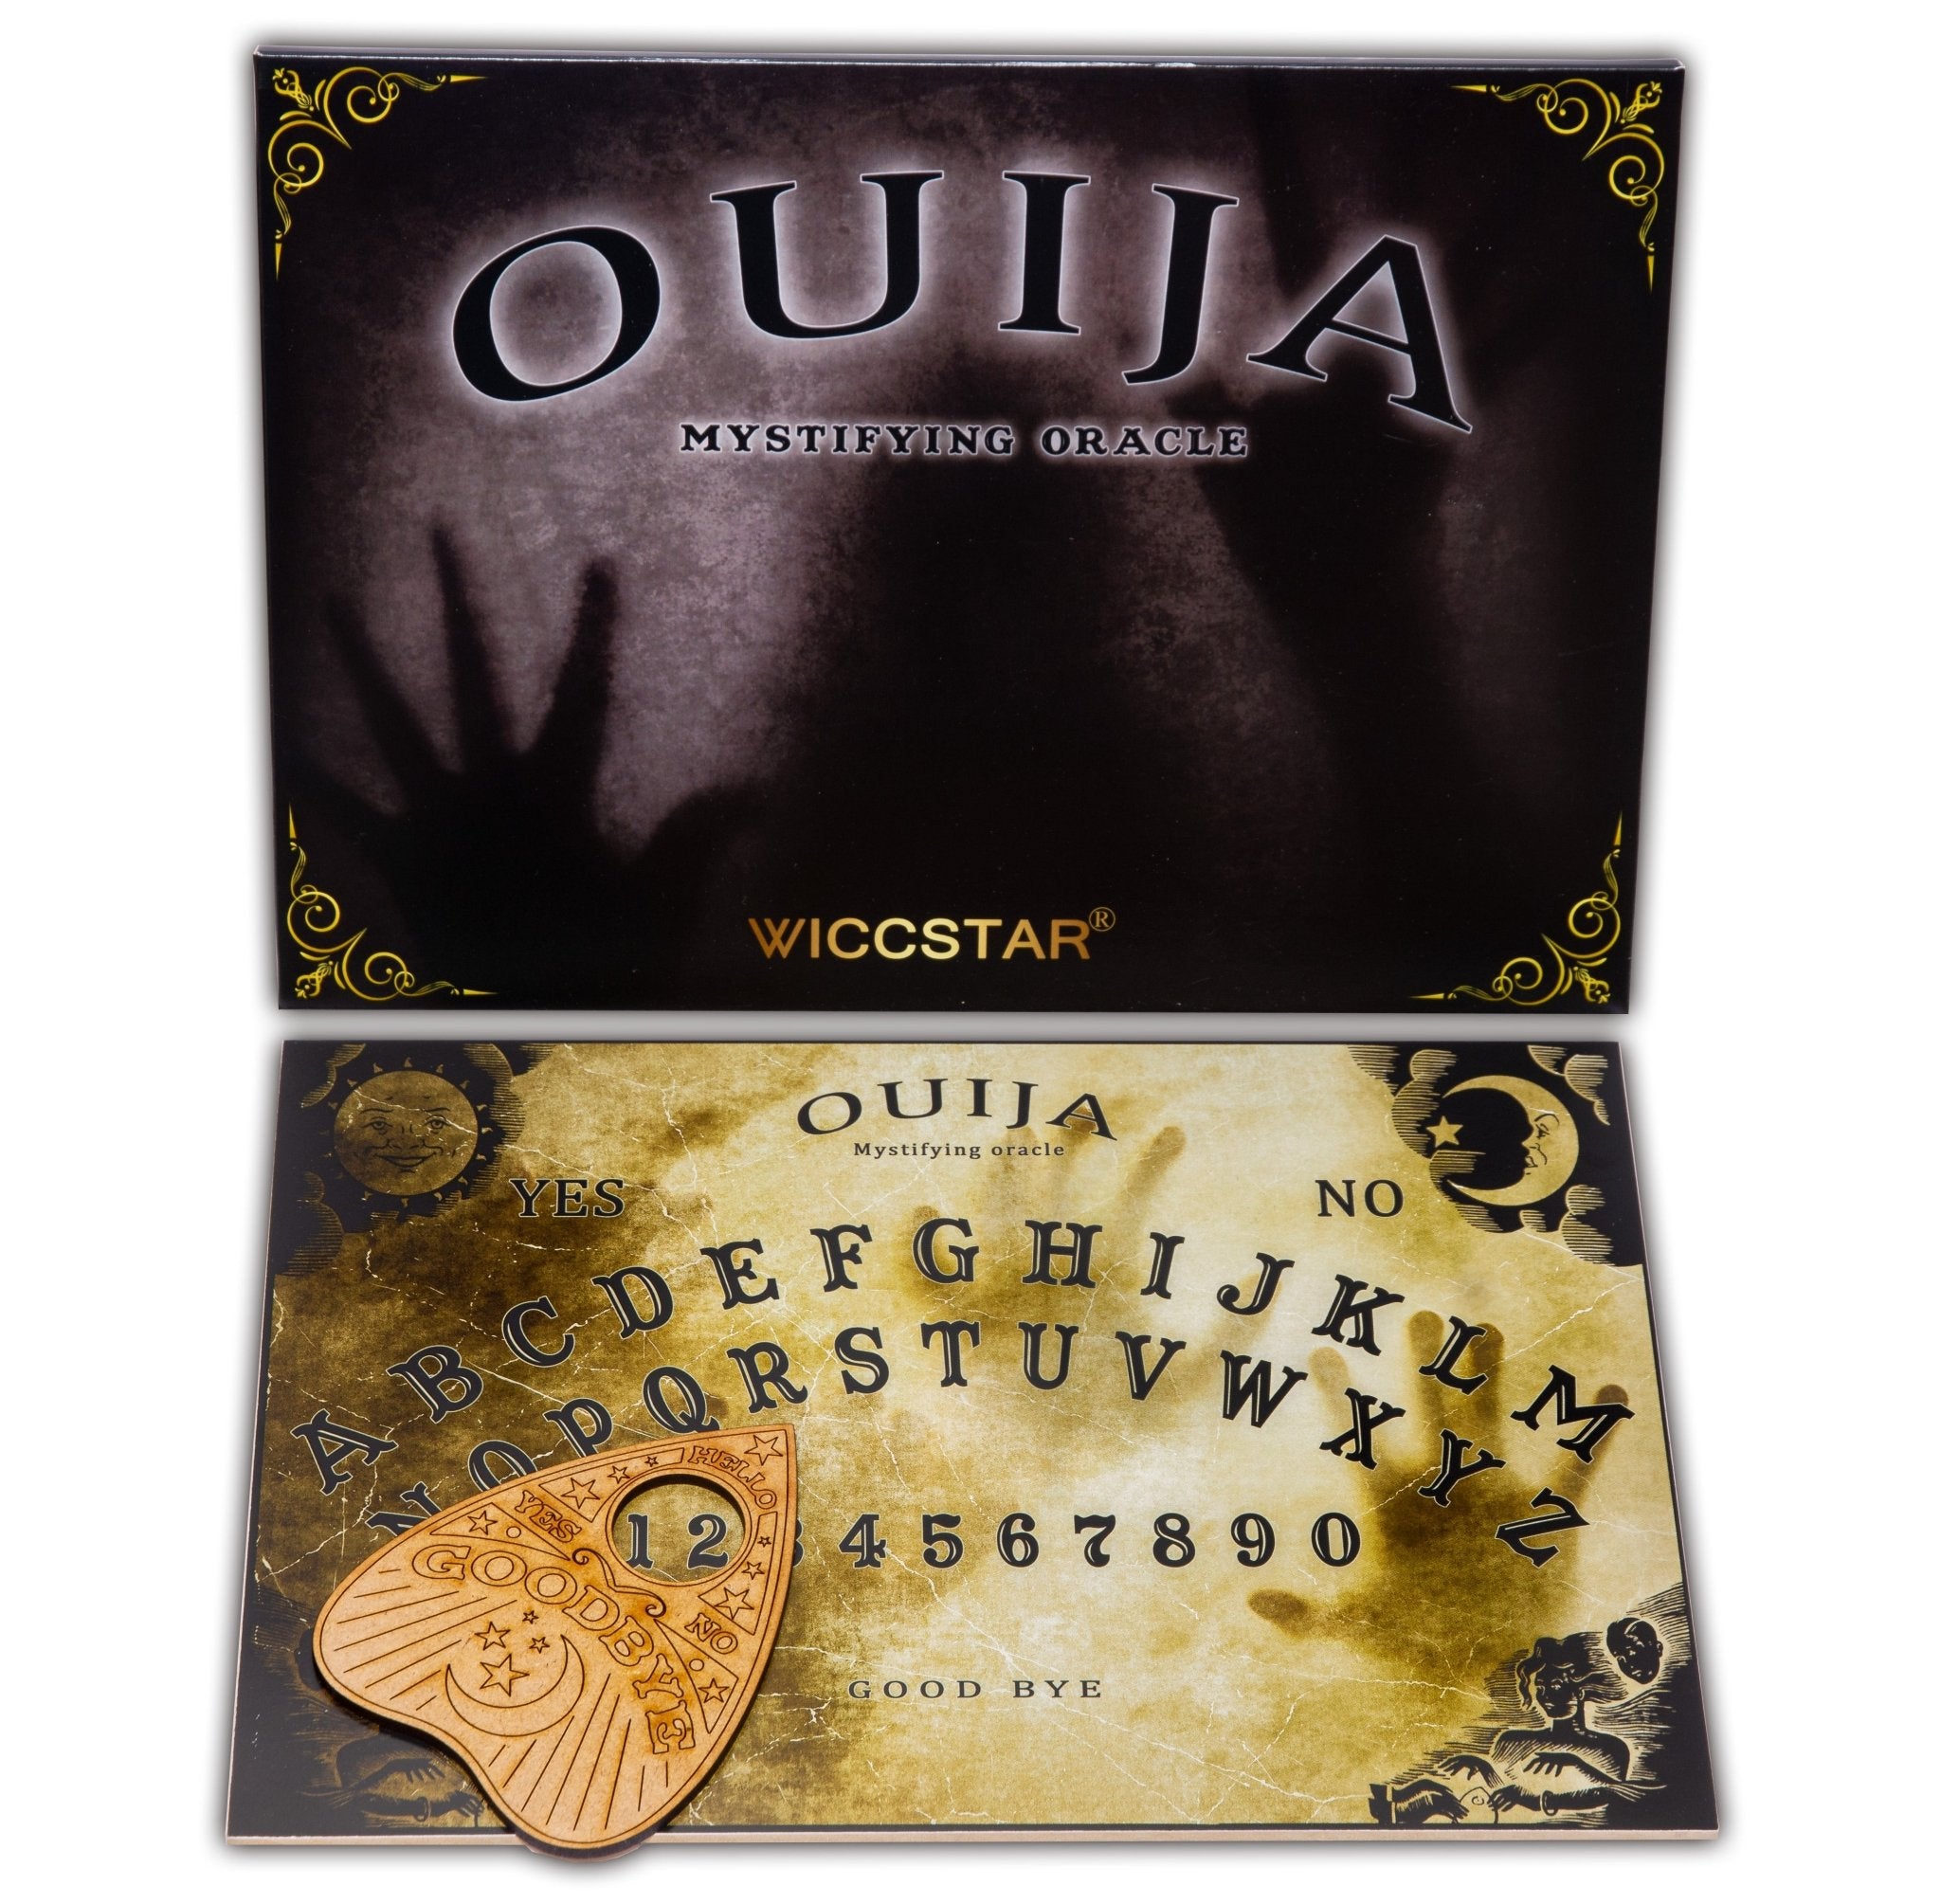
You should plan out how your Ouija board will look before you start painting it. The following things are usually found on a Ouija board:- The letters are set up in two half-circle rows across the top half of the board.
- The numbers 0 through 9 are usually lined up in a straight line below the letters.
- Most of the time, "Yes" and "No" are put in the top corners of the board.
- "Goodbye": This is usually put in the middle of the bottom of the board.
Draw a rough outline of where each part will go on your board with a ruler and pencil. This will help you make sure that everything is lined up and in the middle before you start painting or drawing.
Step 3: Put in the words, numbers, and symbols
You can start adding the letters, numbers, and symbols to your board once you're happy with how it looks. You can do it a few different ways, based on the resources you have and your personal taste:- Acrylic paint is a great way to add your pattern to a wooden board if you're painting. For small tasks like letters and numbers, use a brush with a fine tip. Do it slowly and think about using cutouts if you want a very clean look.
- Putting designs on cardboard or wood: Permanent pens work well and are easy to use. Markers can save you time and give you more power than paint. You can use cutouts to help keep your writing straight again.
- Burning: You can carve your image into a wooden board with a wood-burning tool if you know how to use one. This has a classic, rough look, but you need to be steady-handed and practice.
Step 4: Finish and seal your Ouija board
When painting on wood, it's best to seal or finish it with a clear coat after the paint is dry. If you do this, the paint will not chip, and your Ouija board will last for many years. Figure out what kind of finish you want based on the look you want to achieve.For wooden boards, you can use a spray-on sealant to keep your image from smudging or fading, but you don't have to do this step.
Step 5: Make your planchette
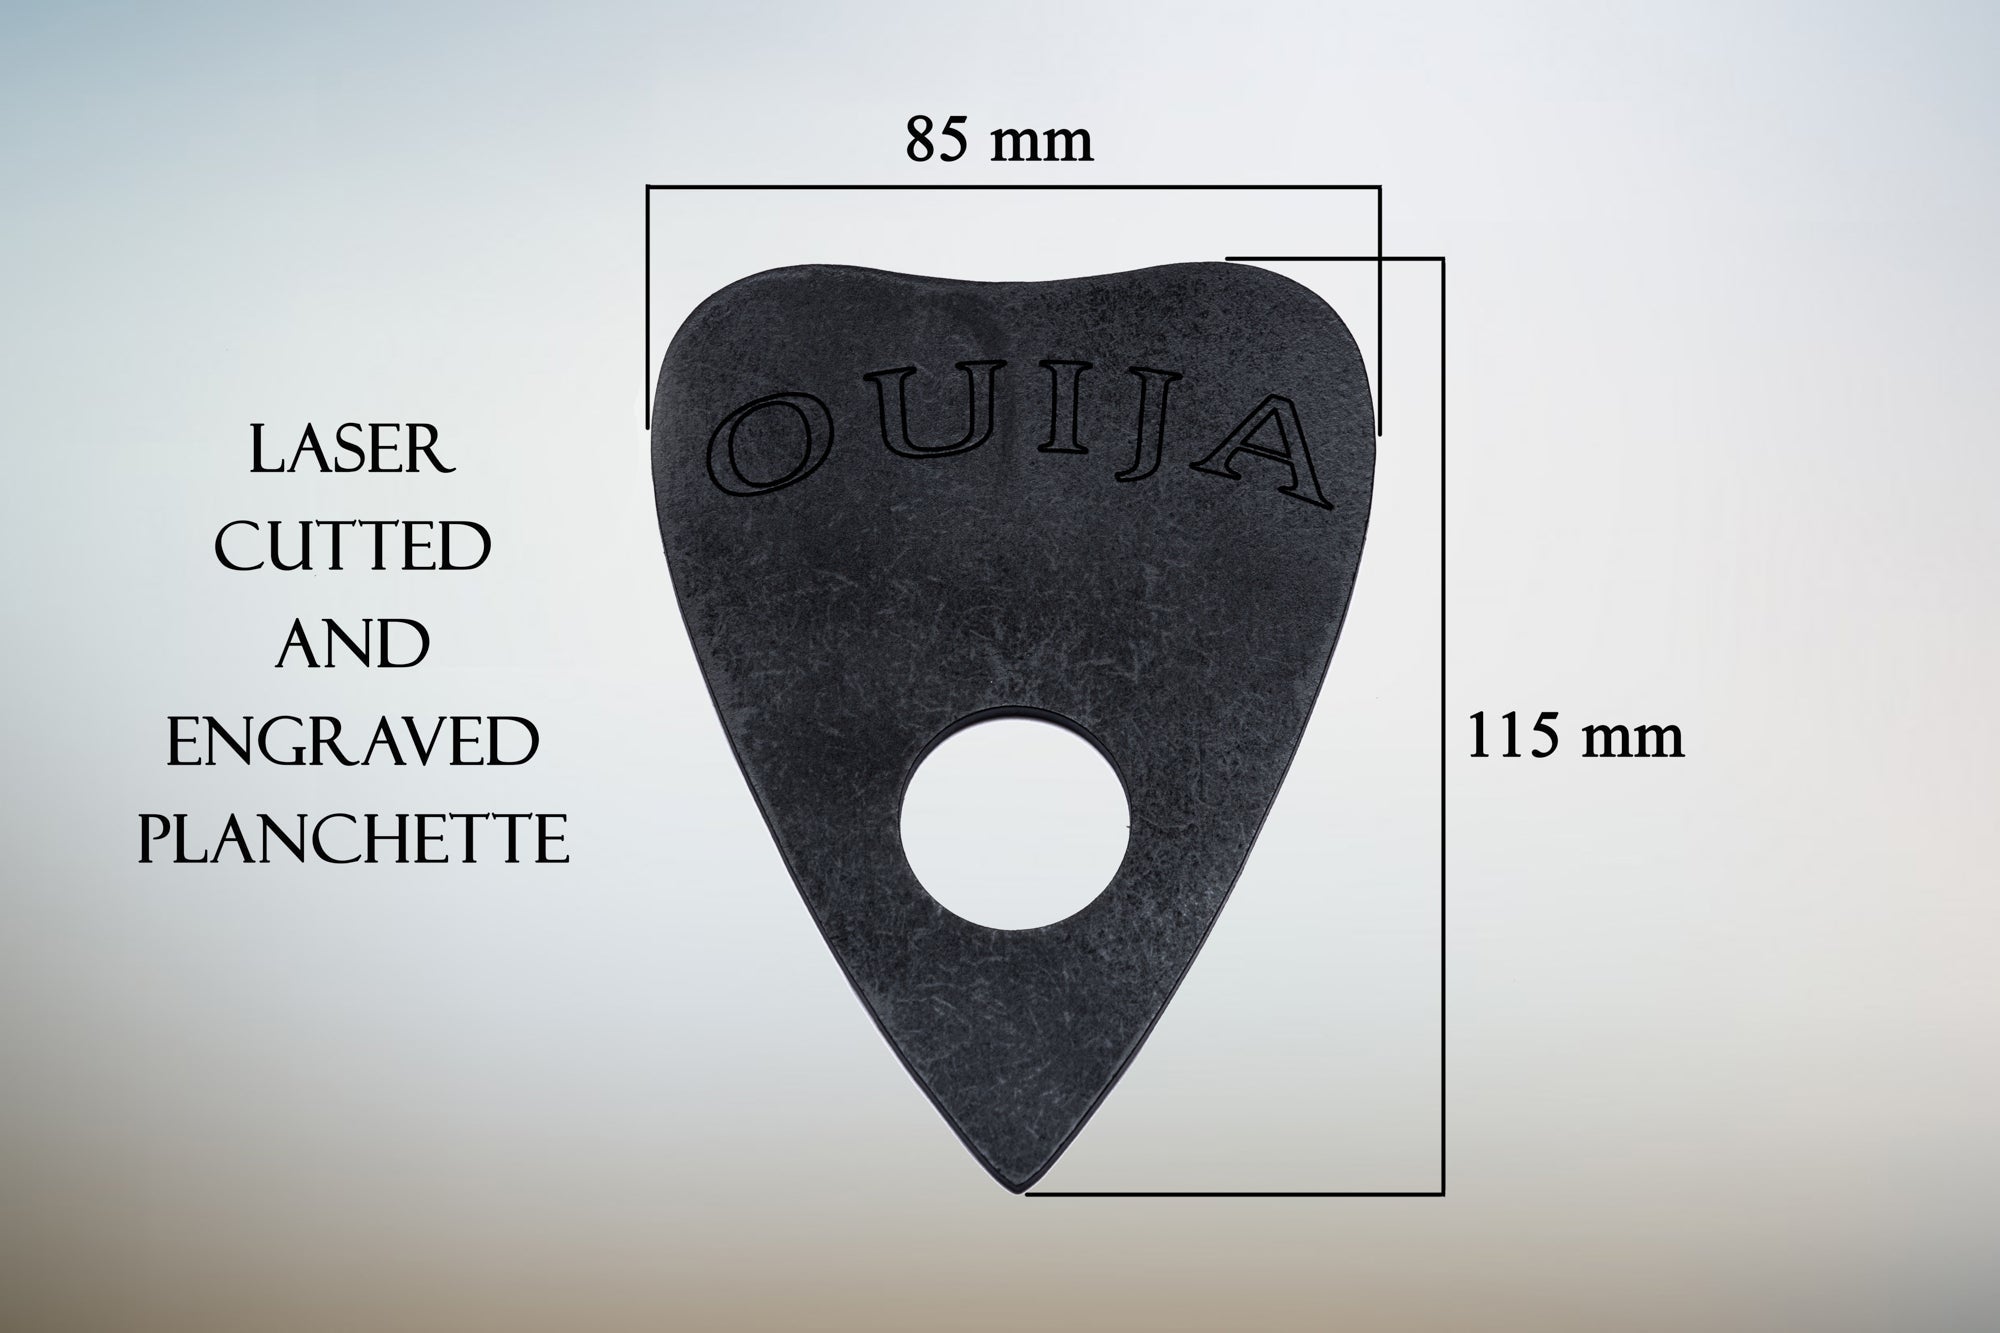
A small heart-shaped piece called the planchette moves around the board to spell out words. A planchette is easy to make out of wood, cardboard, or even clear plastic.- To make the shape, draw and cut out a small heart or triangle shape that is about 2 to 3 inches wide. Make sure the shape is equal on both sides so it goes easily across the board.
- Cut a small circle out of the middle of the planchette if you're using wood or plastic. This will act as a window. This is where you'll see the numbers and letters when the planchette moves.
- Decorate: You can paint or draw on the planchette, just like you can on the board. If it doesn't go with your board, just leave it plain.
- Make the base smooth. Attach small pieces of felt, cork, or smooth buttons to the bottom of your planchette to make sure it moves easily. This will cut down on friction, which will make the movements feel smoother during your lessons.
Step 6: Make use of your seance board
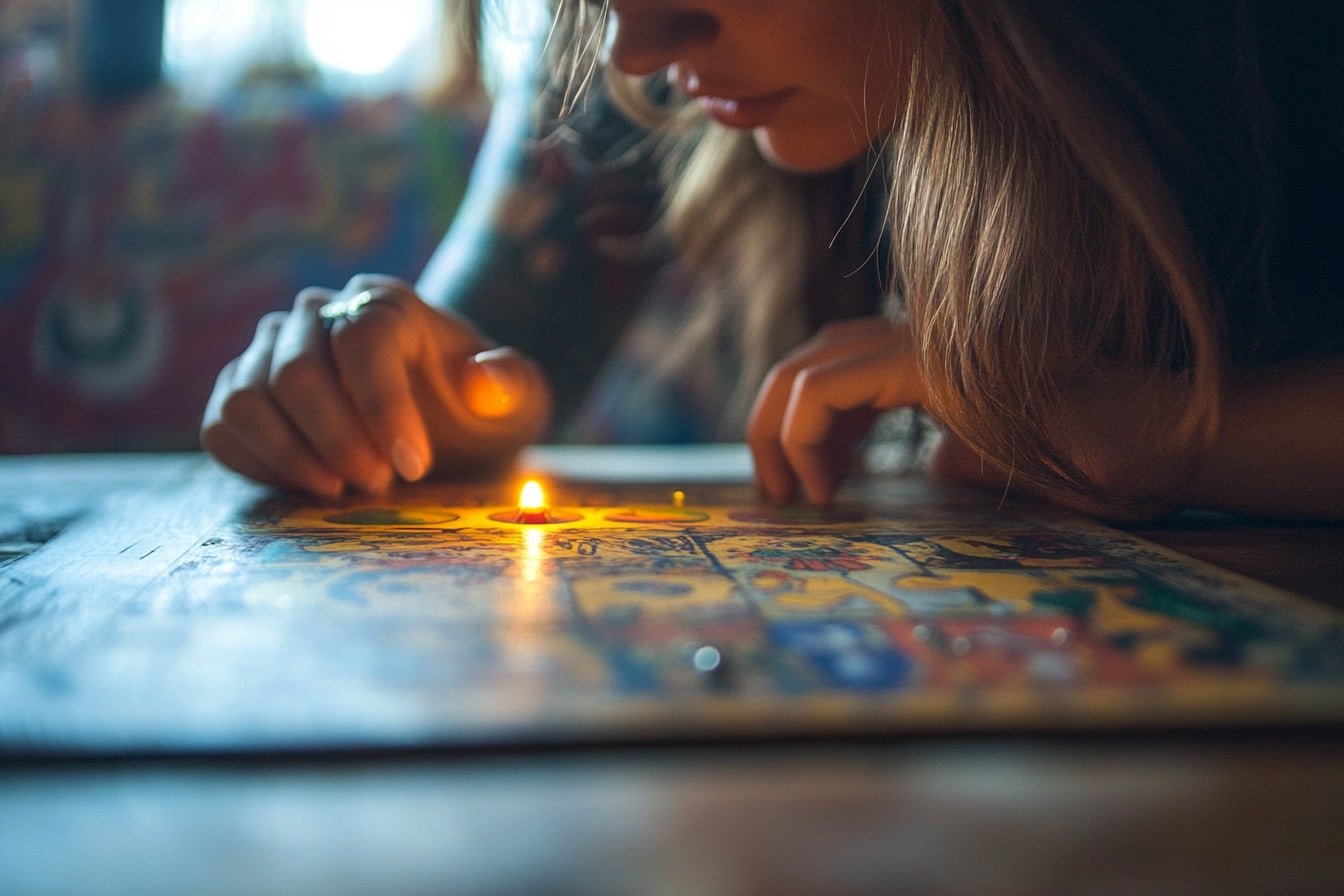
It's time to use your Ouija board and planchette now that they are finished. Find a place that is dark, quiet, and won't bother anyone, and ask a friend or two to join you. Here's a simple way to use your board:- Get the mood right: To make a mysterious mood, light candles or play soft music.
- Put the board in place: Put the Ouija board on a flat surface and have everyone sit around it.
- Put the planchette where it says: Put the planchette down in the middle of the board. Each player should put a light touch on the planchette with their fingers.
- Ask a question: To get the hang of it, start with easy "yes/no" questions. Say something like, "Is anyone here?"
- Wait for planchetteto move: Let the planchette move by itself. Take your time and don't push it. It might take a while for the planchette to start moving.
Step 7: Follow the process
It's important to treat the Ouija board with care, whether you use it for fun or as a serious way to talk to people. To break any psychic ties, always say "Goodbye" at the start and end of each practice. It's fine to end the discussion if the planchette starts to show something scary or if anyone feels stressed.
In conclusion
Making your own Ouija board at home is a fun and creative project that will give you a one-of-a-kind tool. Your homemade Ouija board will show off your unique style and energy whether you use it for fun, to start a conversation, or as a real way to talk to the dead. You'll have a unique, hand-made board that you can treasure for years to come if you use it carefully and with respect.


Leave a comment
This site is protected by hCaptcha and the hCaptcha Privacy Policy and Terms of Service apply.